Permission Groups
A permission group is a set of permissions that is assigned to each user’s account. With the number of permissions that are available in Evergreen, it would be very difficult to manage them individually; permission groups provide a more efficient and consistent way to organize and assign permissions.
The permission group assigned to a user determines what specific functions they can perform in the public catalog and in the staff client. For example, patrons have a small set of permissions that allow them to log in to the public catalog, place holds, and update their account preferences. Staff permission groups are generally more extensive and complex, as they determine each specific function staff can perform their work in the staff client.
Every user must be assigned at least one main permission group, or profile, in their account. Users can have multiple, or secondary, permission groups assigned to their account. The process of assigning a secondary permission group is covered in Secondary Permission Groups.
Permission groups can be managed in the staff client under Administration > Server Administration > Permission Groups.
Upon opening the interface, you will see a tree of the existing permission groups. With the first install of Evergreen, the tree will show the default permission groups, shown in the screenshot below. The groups can be modified to meet the needs of your library.
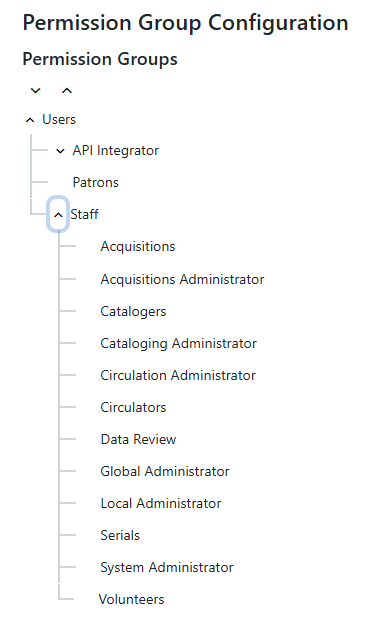
The tree can be collapsed or expanded using the arrows next to each parent permission group. Any group that is nested under another group is called a child group; each child group will inherit any permissions from their parent group(s). For example, in the list of default permission groups shown in the screenshot above, the Staff group inherits all permissions assigned to the Users group. The Catalogers group inherits permissions from the Users group and Staff group.
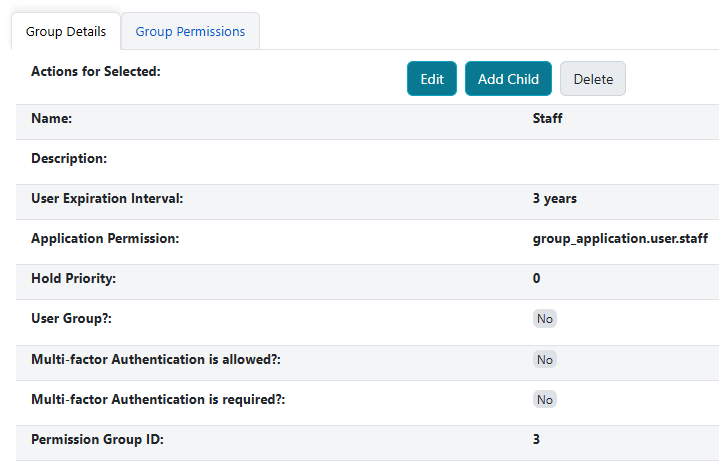
To view the attributes and permissions of a group, click on the name of the group. To the right of the tree, two tabs will display: Group Details and Group Permissions.
Group Details
Group Details includes the following attributes of the permission group:
-
Name: The name of the permission group.
-
Description: The description of the permission group.
-
User Expiration Interval: The interval at which the accounts assigned to the permission group expire; for example, 2 years.
-
Application Permission: In the case you would like a specific group_application permission assigned to a permission group, which would allow for assigning and editing users assigned to the permission group, input that permission here. This is required to assign and edit accounts in this permission group. For example, the Patron permission group’s application permission is group_application.user.patron. Therefore, users must have that permission to assign other users to that permission group and edit user accounts within that group.
-
Hold Priority: The priority given to that group in the holds queue. This field defaults to zero and can be set to a positive or negative number. The lower the number, the higher priority, so -1 results in a higher priority than the default of 0.
-
User Group?: Indicates whether the permission group can have, or be assigned, to users. For example, the Staff permission group is the parent group to the staff subgroups (e.g., Circulator) and includes the permissions that all staff inherit. Users would not be directly assigned to the Staff group, so the User Group checkbox would be left unchecked, i.e., as false. Note that even if the permission group is not marked as a User Group, it will still inherit the base User permission group.
-
Multi-factor Authentication is allowed?: Indicates whether Mult-factor Authentication (MFA) functionality is allowed when users with the permission group are logging in.
-
Multi-factor Authentication is required?: Indicates whether Mult-factor Authentication (MFA) functionality is required when users with the permission group are logging in.
Creating a New Permission Group
To add a permission group:
-
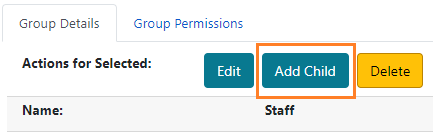
In the tree on the left of the screen, select the name of the parent group to bring up its Group Details. In this case, we will add a subgroup under the Staff permission group.

-
Click Add Child.
-
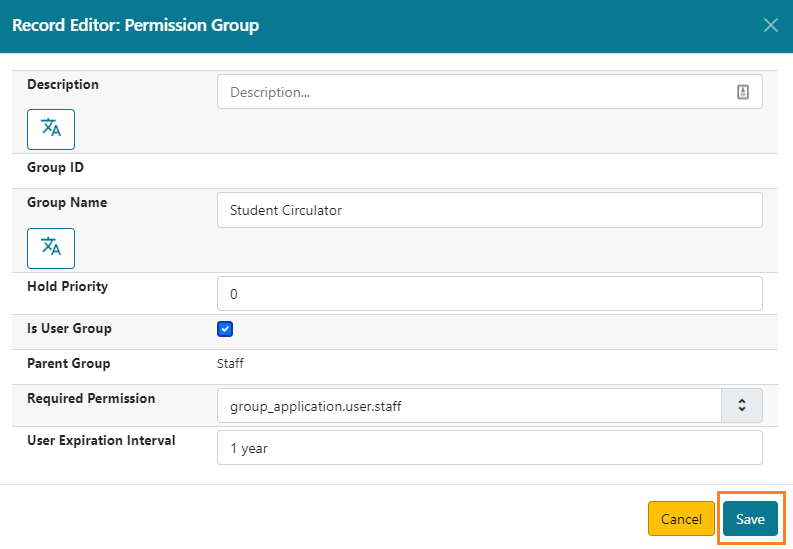
Fill out the form and click Save.
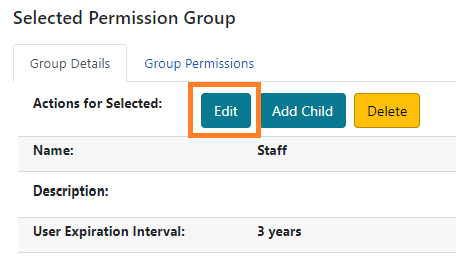
Editing Permission Group Details
To edit the details of a permission group:
-
Select the name of the permission group from the tree.
-
In the Group Details tab, click Edit.
-
Make any necessary changes and click Save.

Group Permissions
The Group Permissions tab shows the list of permissions assigned to each group. Along with the permission code/name (ex: COPY_CHECKIN), you will see the following columns:
-
Group: This shows the group the permission is assigned to. If a permission was inherited through a parent group, it will display the name of the parent group. The name displays as a link that connects to the parent group’s list of permissions.
-
Depth: The scope at which the group has the permission. Note that if a permission is inherited, this value cannot be edited within the child group.
-
Grantable?: Whether or not a user assigned to that permission group can assign the permission to another user. Note that if a permission is inherited, this value cannot be edited within the child group.
-
Delete?: Select this checkbox if you want to remove a permission from the group (process discussed in next section.) Note that if a permission is inherited, this column will default to Inherited instead of a checkbox, as inherited permissions cannot be removed from a child group.
If a permission is assigned locally to a specific group, the permissions table will look like the below:

If a permission is inherited through a parent group, the permissions table will look like the below:

More information about depth and grantability is included in the last section of this page.
Filtering the Group Permissions List
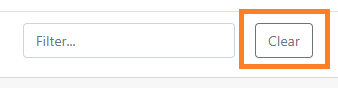
Within the permissions list, you can search for a specific permission by using the Filter function.

If you start typing in the field, the list of permissions will narrow down based on the value in the filter. The filter value sticks, so you can navigate through various groups in the tree and see if they have a certain permission.
To clear the Filter, press Clear.
Adding Permissions to a Permission Group
To add a permission to a permission group:
-
Select the name of the permission group in the tree.
-
In the right pane, click on the Group Permissions tab.

-
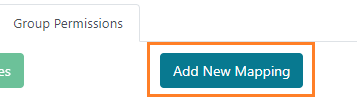
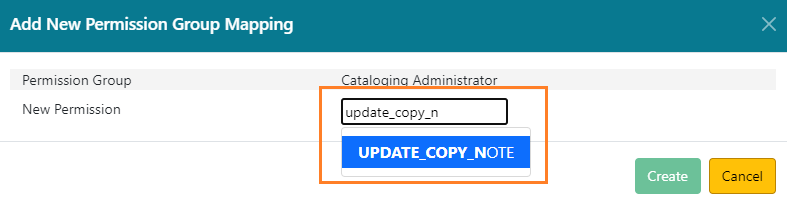
Click on the Add Mapping button. The permission mapping dialog box will appear.
-
In the New Permission field, start typing the name (code) of the permission you want to add and choose the permission from the dropdown list. If the permission is already assigned to the group, it will not show up in the dropdown menu.
-
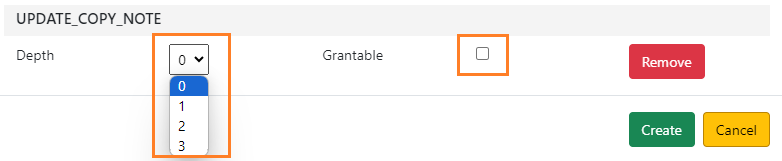
Choose the Depth from the dropdown list, and click the checkbox for Grantable if you would like to grant users in the permission group the ability to assign this permission to other permission groups.
-
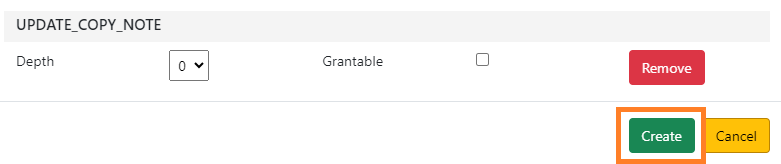
Click Create. The new permission will now appear in the permissions list.
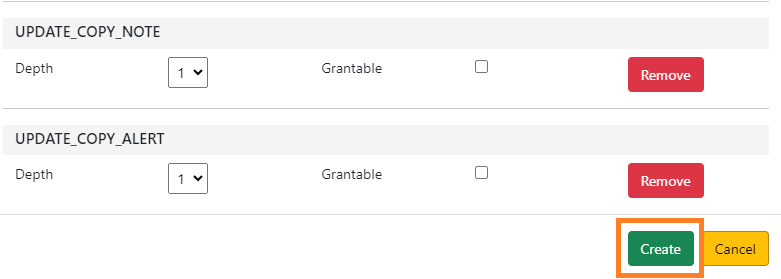
As of 3.11, you can add more than one permission at the same time. To add multiple permissions, complete steps 4 and 5 above to add additional permissions. If you would like to remove any permission from the mapping list, click Remove.

Once all the permissions you would like to add are shown in the mapping window, click Create.
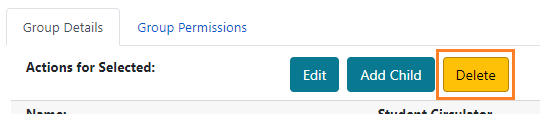
Removing Permissions from a Permission Group
To remove a permission from a permission group:
-
Click on the Group Permissions tab for the permission group.
-
Check the Delete? box next to each permission you would like to remove. Once selected, the row will turn orange.

-
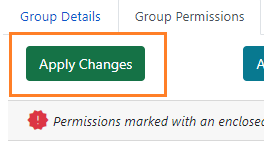
Click Apply Changes. This button is located at the top left of the tab, or at the bottom under the permissions list.

Editing a Permission within a Permission Group
To edit the depth and grantability of a permission:
-
Click on the Group Permissions tab for the permission group.
-
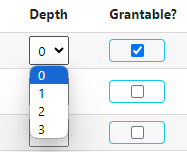
On the row of the permission, select the dropdown menu in the Depth column to change the scope. Select the Grantable? checkbox to make the permission grantable (or deselect the checkbox to make it not grantable).
-
Click Apply Changes.
You can edit and delete multiple permissions at a time. For example, you can select the Delete? checkbox on multiple rows and change the depth and grantability for multiple permissions. Once you select Apply Changes, all updates will be made.
Depth and Grantability
Depth
Evergreen permissions are set to a certain depth, or scoped, meaning that boundaries are set to limit staff actions to the existing organizational unit types, such as consortium, system, and branch.
In stock Evergreen, there are four depths:
-
Consortium (0): the permission applies to the staff member at any location in the consortium.
-
System (1): the permission applies to any location within the library system at which the staff member works.
-
Branch (2): the permission applies to the individual library at which the staff member works.
-
Sub-library or Bookmobile (3): the permission applies to the individual sub-library or bookmobile at which the staff member works.
Where the staff member works is primarily determined by which working location(s) are assigned to their account and the location of the workstation they use to log in to the staff client.
If a user has a permission at more than one depth (because they have per-user permissions or are assigned a secondary permission group), the depth that gives them the broadest access wins. For example, if the Staff profile has CREATE_BILL assigned at the branch depth (2), and the Circulation Administrator group has CREATE_BILL assigned at the System depth (1), the System depth will win. Users assigned to the Circulation Administrator group will be able to create bills at the system level. If a group has the same permission inherited by a parent group and specifically assigned to the child group, the permission parameters that override are designated by an enclosed exclamation mark symbol in the Permissions Group interface.

Some functions are set to only work at the consortium level. This is generally noted in the fieldmapper within the permacrud section using the global_required=“true” tag next to each permission listed. For example, many of the permissions used to manage the Server Administration interfaces, such as ADMIN_ORG_UNIT_SETTING_TYPE and ADMIN_SMS_CARRIER, are global_required=“true”, so those permissions only function if the depth is set to 0.
Grantability
If a permission assigned to a user is marked “Grantable,” this means that the user can grant another user that permission at the depth indicated. For example, a Local Administrator has the RUN_REPORTS permission assigned at the system depth (1) and the Grantable? checkbox is selected. This means the Local Administrator can assign other staff the RUN_REPORTS permission at a depth of system (1) or narrower (2,3). They would not be able to assign the permission to another staff user at the consortium (0) level. In addition, the user can only grant that permission to accounts that they have the ability to edit. Grantable permissions can be assigned individually through the User Permission Editor.
There is no way to override a permissions grant; i.e., if a permission is assigned via the user’s group profile, it cannot be revoked or restricted at the per-user level or via a secondary permission group. In other words, the permissions users inherit from their assigned permission group cannot be edited or removed.
Conflicting Depth and Grantability
Staff users may be assigned the same permission at different levels, whether through their inherited group and main group or through their main group and secondary group(s). Having permissions at different depths and grantability may cause conflicts when performing functions in Evergreen, so it is important to know which permission assignment will override the other, and assign group permissions accordingly.
When checking a user’s permission, the system looks at the following:
-
Does this user have the permission?
-
At what depth does the user have the permission?
-
The depth is looked in ascending order (from 0 to 3), so the broadest depth wins.
-
-
Is this permission grantable for the user?
-
Grantability is either a true (1) or false (0) value and is checked in descending order, so true (1) overrides false.
-
| Because depth is looked at first, the permission with the broadest depth and its associated grantability overrides the other permission. Therefore, if a permission is assigned at a depth of 0 and grantable=false and then again at a depth of 1 and grantable=true, the permission at 0 depth/grantable=false wins and the user will not be able to grant that permission. If the permissions are assigned at the same depth, one with grantability and one without, the grantable=true wins and the user will be able to grant that permission. |
The permission attributes that “win” will be reflected in that user’s permission list under the User Permission Editor.
Here are a couple examples:
Example 1
A staff member assigned to the Global Administrator group has the VIEW_ORG_SETTINGS permission assigned locally. The permission is also inherited through the Staff parent permission group.
-
Staff: Depth = 1 (System), Grantable = false
-
Global Administrator: Depth = 0 (Consortium), Grantable = true
Outcome: Because the Global Administrator permission is set at 0 depth, this permission overrides the other. The staff member will be able to see all org settings for the consortium, and will also be able to grant that permission to another user (if they don’t already have it assigned to them, and if their account can be edited).
Example 2
A staff member has Cataloger as their main permission group and Local Administrator as their secondary group. They have two instances of the CREATE_COPY_NOTE permission at the following levels:
-
Cataloger: Depth=1 (System), Grantable = false
-
Local Administrator: Depth=1 (System), Grantable = true
Outcome: The permissions are assigned at the same depth, so the system will look at the grantability next. True overrides false, so the staff member will be able to create item notes for items owned by their system, and will be able to grant that permission to another user (if they don’t already have it assigned to them, and if their account can be edited).
Example 3
A staff member has Local Administrator as their main permission group and Acquisitions as their secondary group. This means that the staff member has the DELETE_COPY permission from both groups, at the following levels.
-
Local Administrator: Depth=1 (System), Grantable = true
-
Acquisitions: Depth=0 (Consortium), Grantable = false
Outcome: Because the Aquisitions permission is assigned at 0 depth, this permission overrides the other. The staff member will be able to delete items owned by any library in the consortium, but they will not be able to grant this permission to other staff members.