Triggered Events and Notices
Introduction
Improvements to the Triggered Events interface enables you to easily filter, sort, and print triggered events from the patron’s account or an item’s details. This feature is especially useful when tracking notice completion from a patron’s account.
Access and View
You can access Triggered Events from two Evergreen interfaces: a patron’s account or an item’s details.
To access this interface in the patron’s account, open the patron’s record and click Other → Triggered Events / Notifications.
To access this interface from the item’s details, enter the item barcode into the Item Status screen, and click Actions → Show → Triggered Events.
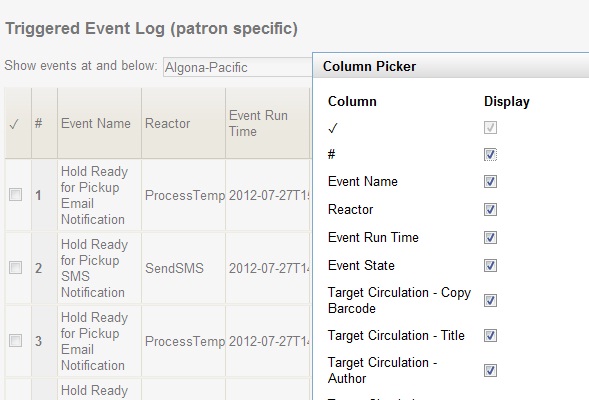
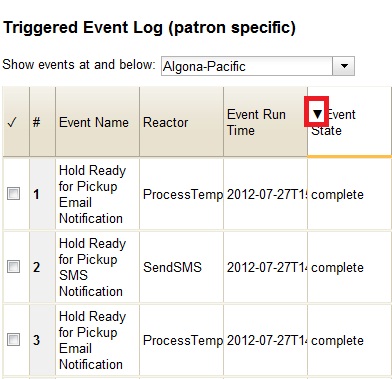
Information about the patron, the item, and the triggered event appear in the center of the screen. Add or delete columns to the display by right clicking on any column. The Column Picker appears in a pop up box and enables you to select the columns that you want to display.

Filter
The triggered events that display are controlled by the filters on the right side of the screen. By default, Evergreen displays completed circulation events. Notice that the default filters display Event State is Complete and Core Type is Circ.
To view completed hold-related events, such as hold capture or hold notice completion, choose Event State is Complete and Core Type is Hold from the drop down menu.
You can also use the Event State filter to view circs and holds that are pending or have an error.
Add and delete filters to customize the list of triggered events that displays. To add another filter, click Add Row. To delete a filter, click the red X adjacent to a row.

