Workstation Administration
Copy Editor: Copy Location Name First
By default, when editing item records, library code is displayed in front of shelving location in Shelving Location field. You may reverse the order by going to Administration → Workstation Administration → Copy Editor: Copy Location Name First. Simply click it to make copy location name displayed first. The setting is saved on the workstation.
Font and Sound Settings
In the Staff Client
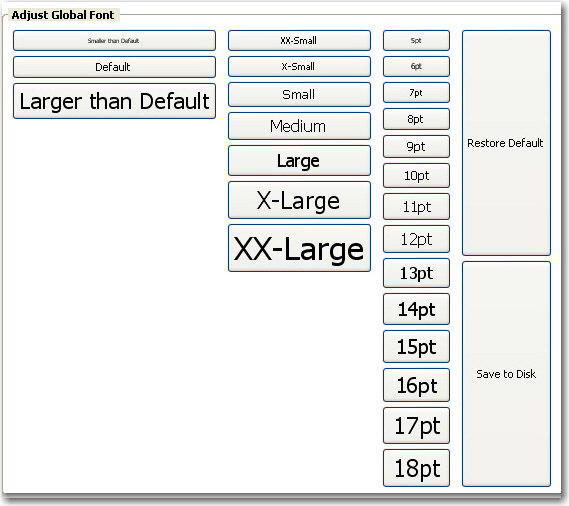
You may change the size of displayed text or turn staff client sounds on and off. These settings are specific to each workstation and stored on local hard disk. They do not affect OPAC font sizes.
-
Select Administration → Workstation Administration → Global Font and Sound Settings.
-
To turn off the system sounds, like the noise that happens when a patron with a block is retrieved, check the disable sound box and click Save to Disk.

-
To change the size of the font, pick the desired option and click Save to Disk.

In the OPAC
It is also possible to zoom in and zoom out when viewing the OPAC in the staff client, making the font appear larger or smaller. (This will not affect other screens.) Use CTRL + + (plus sign, to zoom in), CTRL + - (minus sign, to zoom out), and CTRL + 0 (to restore default). The workstation will remember the setting.
Select Hotkeys
All or partial hotkeys can be turned on or off. It can be done for a particular workstation:
-
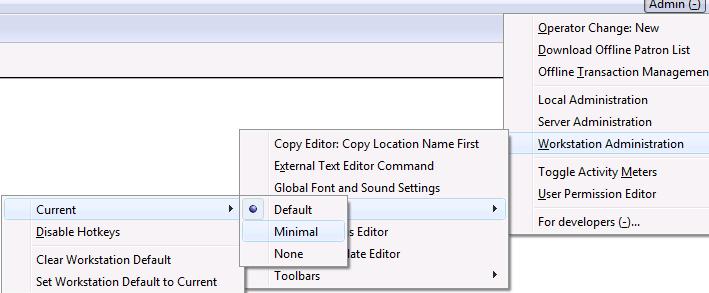
Navigate to Administration → Workstation Administration → Hotkeys → Current.
-
Select Default, Minimal, and None.

-
Default: including all hotkeys
-
Minimal: including those hotkeys using CTRL key
-
None: excluding all hotkeys
-
-
Go back to the above menu.
-
Click Set Workstation Default to Current.
To clear the existing default click Clear Workstation Default.
You can use the Toggle Hotkeys button, included in some toolbars, on top right corner, to switch your selected Hotkeys on or off for the current login session. It has the same effect as when you click Disable Hotkeys on the Hotkeys menu.
Configure Printers
Use the Printer Settings Editor to configure printer output for each workstation. If left unconfigured Evergreen will use the default printer set in the workstation’s operating system (Windows, OSX, Ubuntu, etc).
Evergreen printing works best if you are using recent, hardware-specific printer drivers.
-
Select Administration → Workstation Administration → Printer Settings Editor.
-
Select the Printer Context. At a minimum set the Default context on each Evergreen workstation. Repeat the procedure for other contexts if they differ from the default (e.g. if spine labels should output to a different printer.

-
Default: Default settings for staff client print functions (set for each workstation).
-
Receipt: Settings for printing receipts.
-
Label: Printer settings for spine and pocket labels.
-
Mail: Settings for printing mailed notices (not yet active).
-
Offline: Applies to all printing from the Offline Interface.
-
-
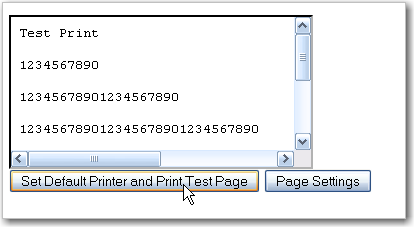
After choosing Printer Context click Set Default Printer and Print Test Page and follow the prompts. If successful, test output will print to your chosen printer.

-
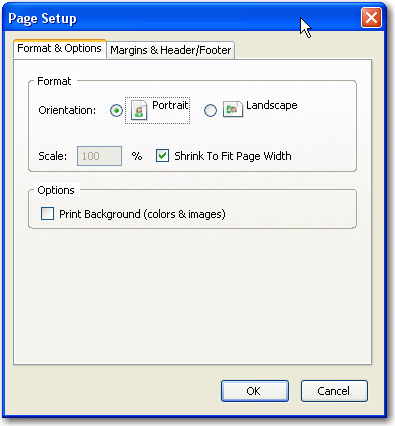
(optional) To further format or customize printed output click Page Settings and adjust settings. When finished click OK and print another test page to view changes.

Advanced Settings
If you followed the steps above and still cannot print there are two alternate print strategies:
-
DOS LPTI Print (sends unformatted text directly to the parallel port)
-
Custom/External Print (configuration required)
|
Evergreen cannot print using the Windows Generic/Text Only driver. If this driver is the only one available try one of the alternate print strategies instead. |