Booking Module
Overview
The Booking module allows libraries to manage reservations for bookable resources, such as study rooms, equipment, and other items. This module is useful for libraries that offer resources that can be reserved in advance. The booking module can be accessed from the top menu bar in the staff client.
Additional Resources
The Booking module is managed through the Booking Administration module. This module allows library staff to define and manage resource types, attributes, and values, as well as create and manage individual resources. For detailed instructions on creating, managing, and utilizing these reservations, see Booking Administration.
Creating a Booking Reservation
| The "Create a booking reservation" screen uses your library’s timezone. If you create a reservation at a library in a different timezone, Evergreen will alert you and provide the time in both your timezone and the other library’s timezone. |
Reservations can only be created by staff members and can be initiated from a patron record, a booking resource, or the catalog if the booking item’s barcode is not known.
From a Patron Record
-
Retrieve the patron’s record.
-
Click Other → Booking: Create Reservations. This opens the Create Reservations screen.
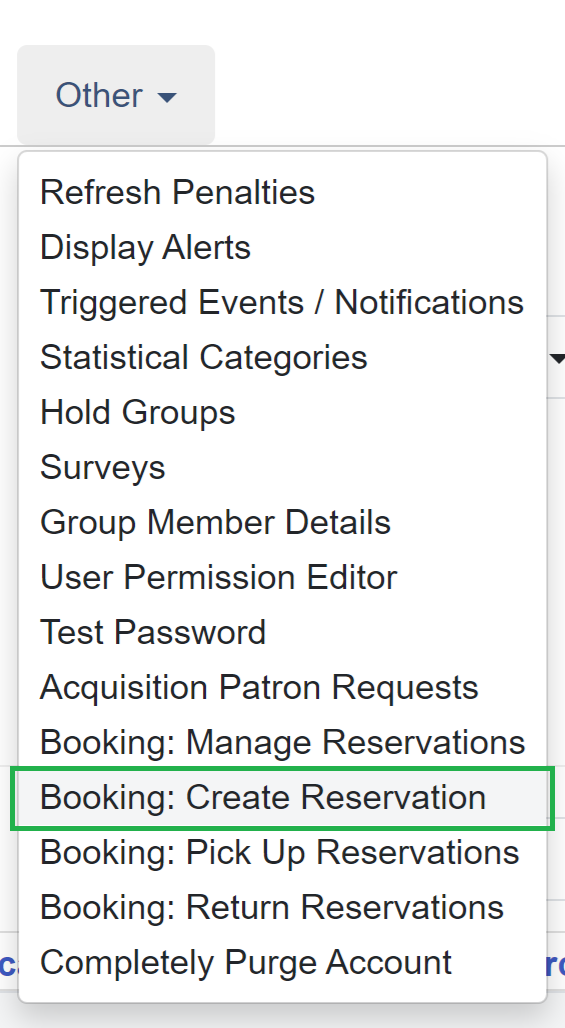 Figure 3. Other → Booking: Create Reservations
 -
Choose reservation type and date:
 Figure 4. Reservation Type and Date Fields
-
Single-day reservation: For reservations lasting less than a day (e.g., a study room).
-
Multiple-day reservation: For reservations spanning several days (e.g., a video camera).
-
-
Specify the resource:
 Figure 5. Reservation Details Fields
-
Choose resource by barcode: If you know the barcode.
-
Choose resource by type: To select by type if the barcode is unknown. Resource types are managed in the Booking Administration module. See Additional Resources above.
-
-
Adjust the schedule grid and settings as needed:
-
Use the Schedule settings tab for day/time adjustments.
-
Specify any additional resource attributes in the Attributes tab (e.g., PC vs. Mac laptop).
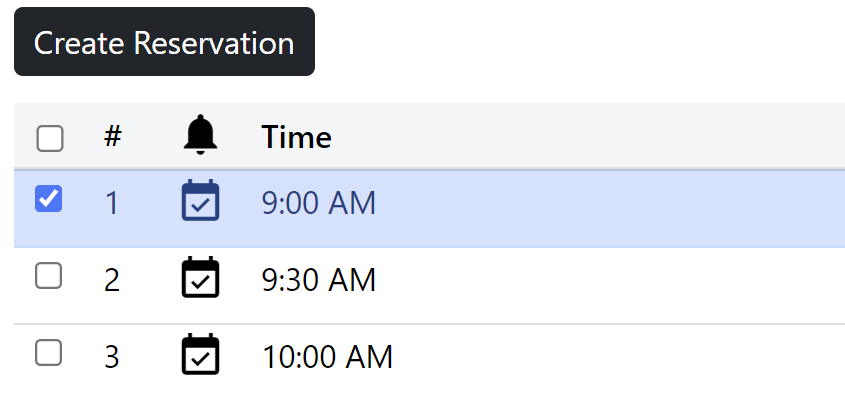 Figure 6. Schedule Grid
-
-
Create the reservation using one of the following:
-
Double-click the appropriate row in the schedule grid.
-
Use keyboard navigation and the Actions menu (Shift+F10).
-
Right-click the row and choose Create Reservation.
-
Click the Actions button and select Create Reservation.
-
-
Adjust reservation details as necessary:
-
Patron barcode
-
Start/End times
-
Notify patron by email (optional)
-
Notes (optional)
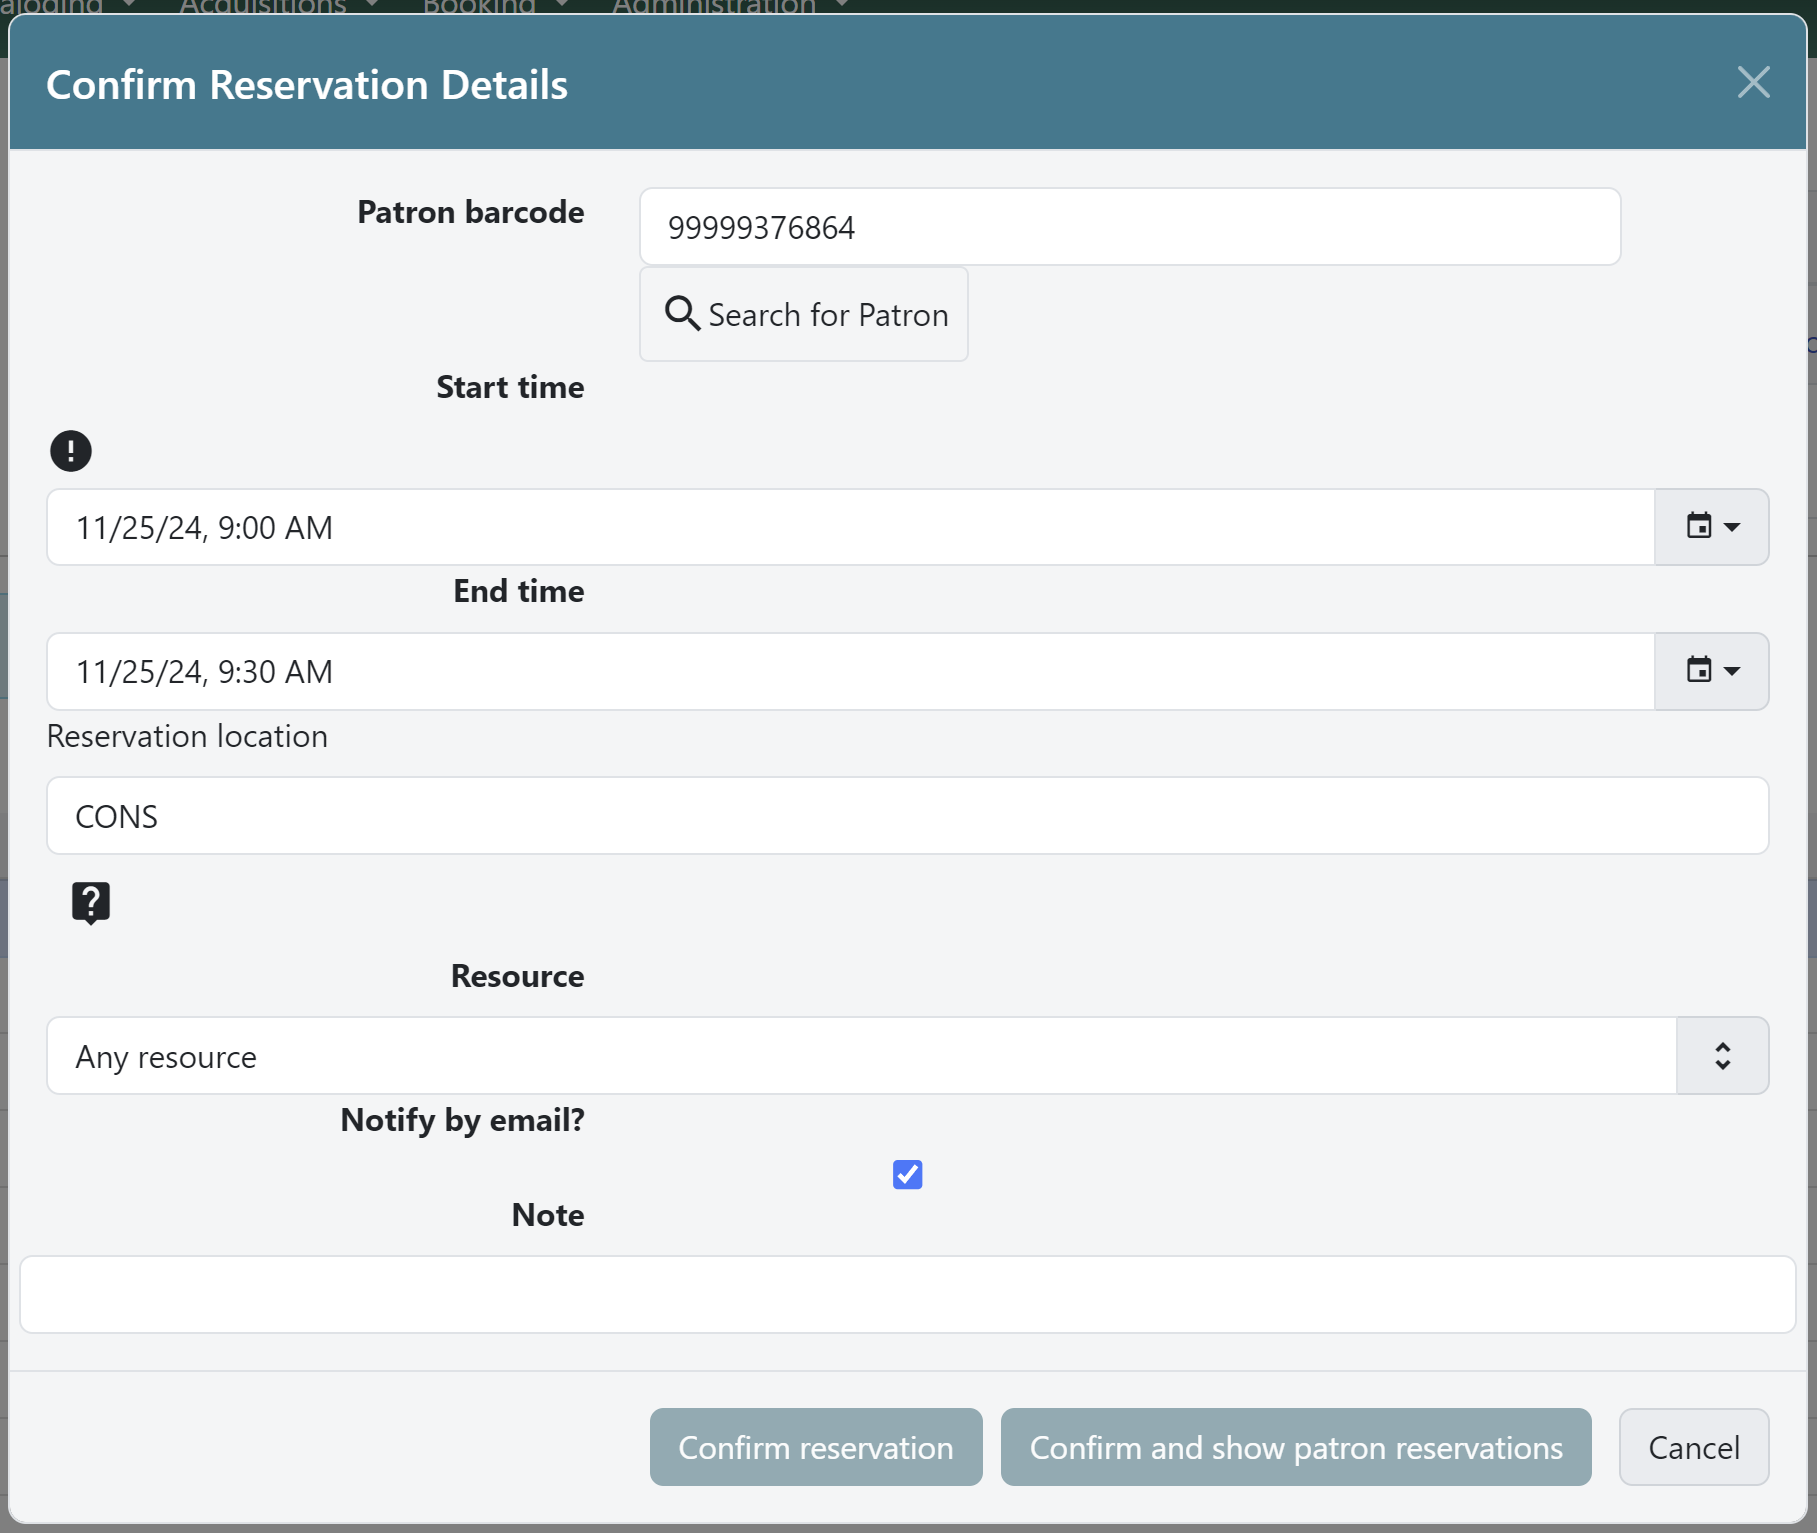 Figure 7. Confirm Reservation Modal
-
-
Click Confirm Reservation. The screen refreshes, displaying the new reservation in the schedule.
From the Catalog
-
Click Cataloging → Search the Catalog to locate the desired item.
-
Open the Holdings View tab and select the relevant row.
-
Right-click the row and choose Book Item Now.
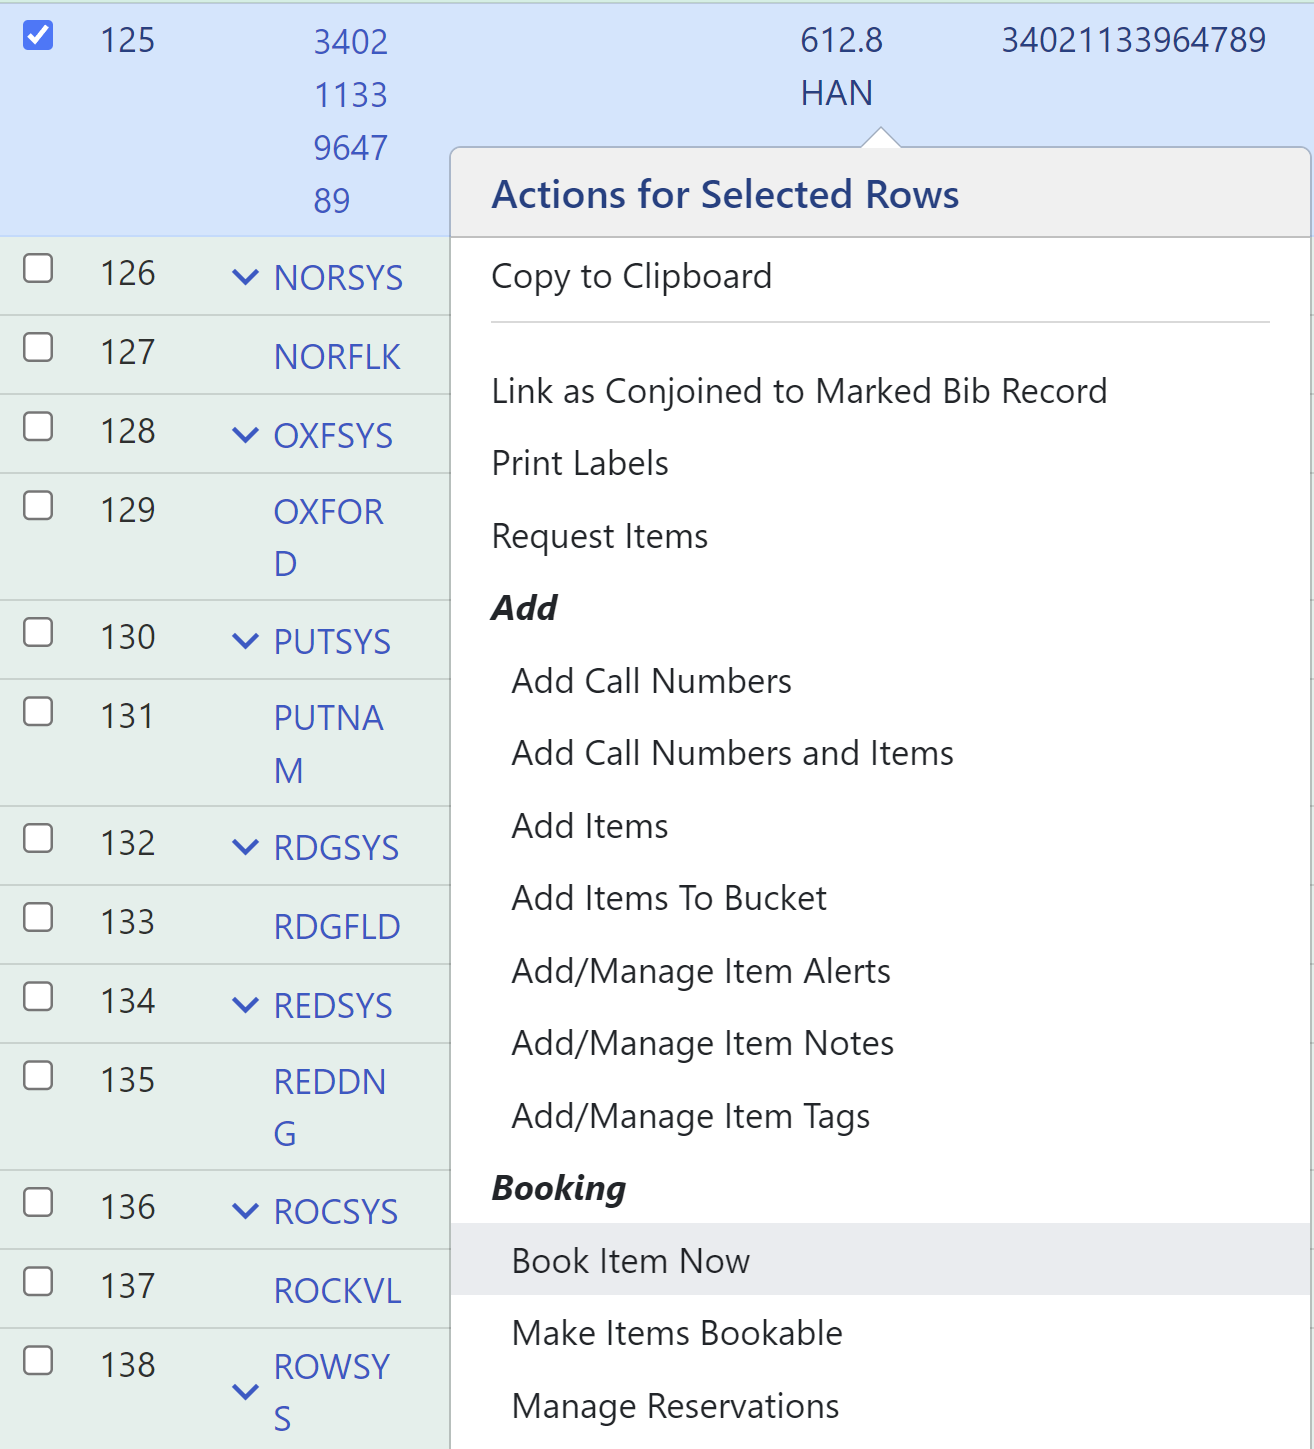 Figure 8. Book Item Now Option
You can also accomplish this by selecting the row and clicking the Actions button at the top right of the grid and choosing Book Item Now.  Figure 9. Booking Grid Actions Button
 -
Follow steps 3–8 above to complete the reservation.
Reservation Pull List
-
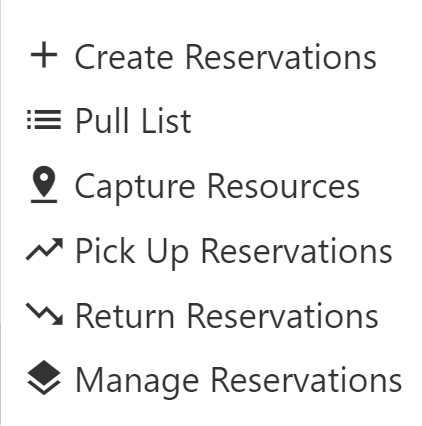
Click Booking → Pull List.
-
Choose your library if it is not already selected.
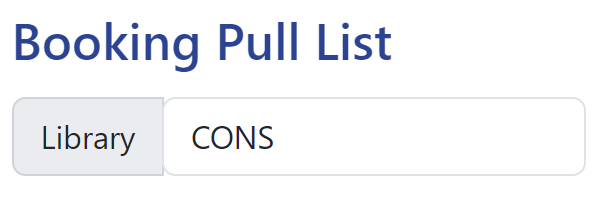 Figure 10. Pull List Library Selector
-
-
Specify the number of days in advance to generate the list (e.g., 1 for items needed today).
 Figure 11. Pull List Days in Advance Field
 -
Review the pull list.
-
Click Actions → Print Pull List to print the list.
Capturing Items for Reservations
| Always capture reservations using the Booking Module. The standard Check In function does not process reservations correctly. |
-
Click Booking → Capture Resources.
-
Scan or enter the item barcode, then press Enter.
 Figure 12. Capture Resources by Barcode
 -
A "Capture succeeded" message will appear.
-
Click Print to generate a reservation slip.
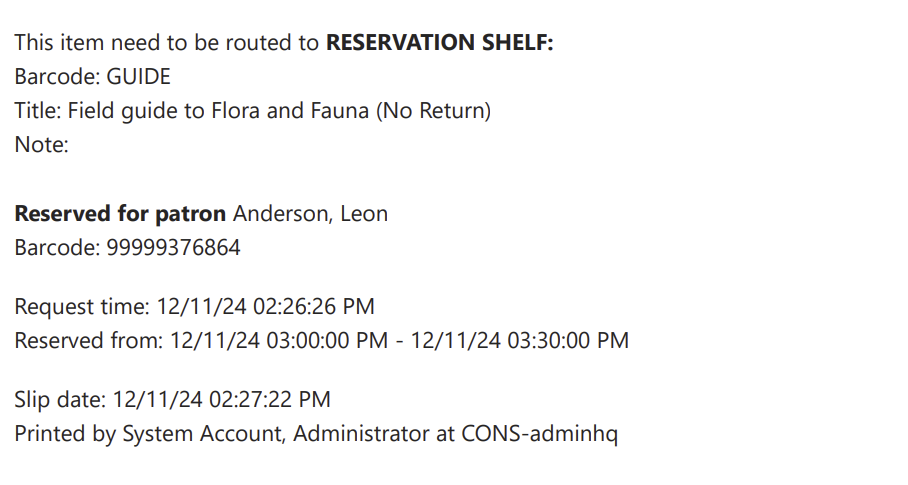 Figure 13. Booking Reservation Slip
-
Picking Up Reservations
| Always use the dedicated Booking Module interfaces for tasks related to reservations. Items that have been captured for a reservation cannot be checked out using the Check Out interface, even if the patron is the reservation recipient. |
-
Navigate to Booking → Pick Up Reservations or access it from a patron record (Other → Booking: Pick Up Reservations).
-
Scan the patron barcode if needed.
 Figure 14. Patron Barcode Field for Pick Up
 -
Select the reservation(s) to pick up and confirm.
 Figure 15. Reservation Grid for Pick Up
 -
The screen refreshes, displaying the updated reservation status.
-
The reservation will move from the Ready for pickup grid to the Already picked up grid.
-
Returning Reservations
| Always use the Booking Module to return reserved items. |
Returning reservations works similarly to picking up reservations. The main difference is that you can return reservations by resource or by patron.
-
Click Booking → Return Reservations.
-
Choose a return method:
 Figure 16. Booking Return Controls
-
By resource: Scan/enter barcode to display active reservations, then select the items to return.
-
By patron barcode: Scan/enter barcode to display active reservations, then select the items to return.
-
-
Select the reservation(s) to return and confirm.
-
The screen updates to reflect returned items.
-
The reservation will move from the Ready for return grid to the Returned today grid.
-
| You can also return reservations from the patron record (Other → Booking: Return Reservations). |
Cancelling a Reservation
-
Retrieve the reservation via Booking → Manage Reservations or from the patron record (Other → Booking: Manage Reservations).
-
Highlight the reservation and click Actions → Cancel Selected.
-
Confirm cancellation in the pop-up. The reservation disappears from the list.
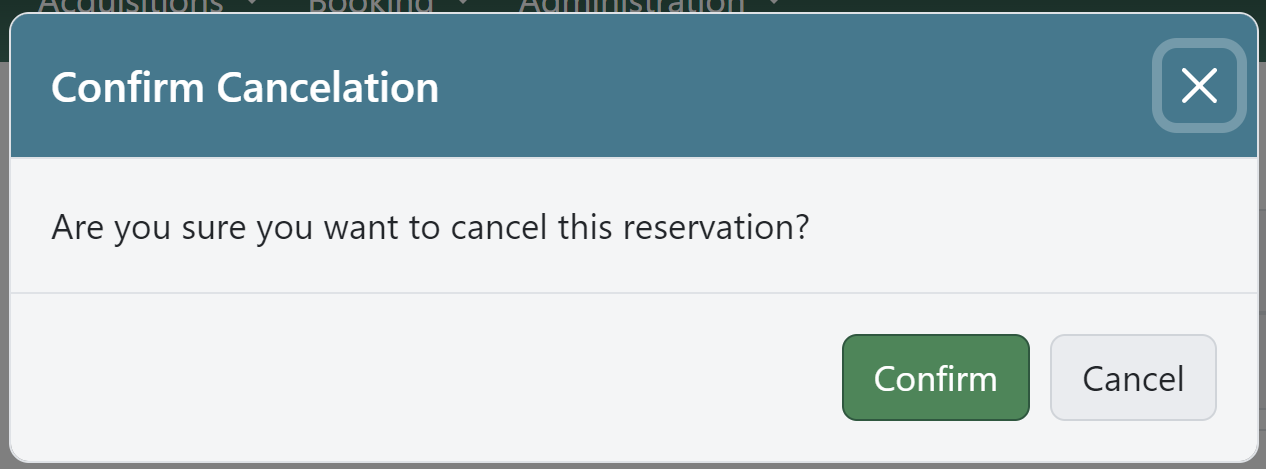 Figure 17. Cancel Reservation Confirmation Modal
