Booking Module Administration
Creating Bookable Non-Bibliographic Resources
Staff with the required permissions (Circulator and above) can create bookable non-bibliographic resources such as laptops, projectors, and meeting rooms.
The following pieces make up a non-bibliographic resource:
-
Resource Type
-
Resource Attribute
-
Resource Attribute Values
-
Resource
-
Resource Attribute Map
You need to create resource types and resource attributes (features of the resource types), and add booking items (resources) to individual resource type. Each resource attribute may have multiple values. You need to link the applicable features (resource attributes and values) to individual item (resource) through the Resource Attribute Map. Before you create resources (booking items) you need to have a resource type and associated resource attributes and values, if any, for them.
Create New Resource Type
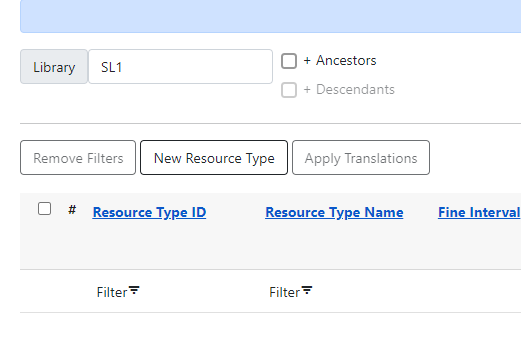
1) Select Administration → Booking Administration → Resource Types.

2) A list of current resource types will appear (if any).
| You may also see cataloged items in the list. Those items have been marked bookable or booked before. |
3) To create a new resource type, click New Resource Type towards the top of the screen.
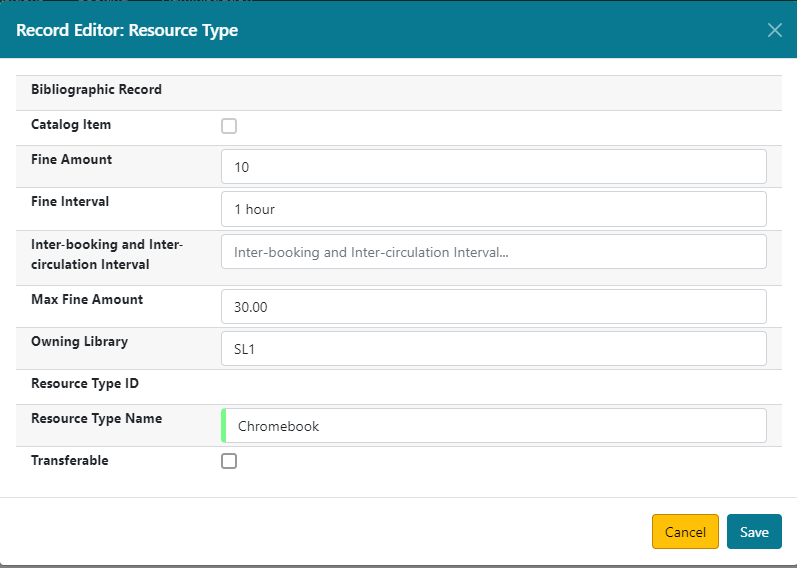
4) A box will appear in which you create your new type of resource.
-
Catalog Item: Boolean checkbox.
-
Fine Amount: The amount that will be charged at each Fine Interval.
-
Fine Interval: How often will fines be charged? This period can be input in several ways:
-
second(s), minute(s), hour(s), day(s), week(s), month(s), year(s)
-
sec(s), min(s)
-
s, m, h
-
00:30:00, 00:01:00, 01:00:00
-
-
Inter-booking and Inter-circulation Interval: need an explanation
-
Max Fine Amount: Enter a max fine amount.
-
Owning Library: The home library of the resource.
-
Resource Type ID: Will populate after you save.
-
Resource Type Name: Give your resource a name.
-
Transferable: Boolean checkbox.
5) Click Save when you have entered the needed information.
6) The new resource type will appear in the list.
Create New Resource Attribute
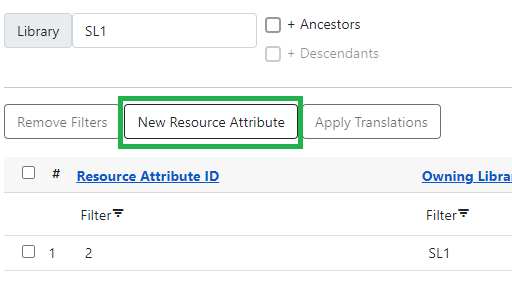
1) Select Administration → Booking Administration → Resource Attributes.
2) Click New Resource Attribute in the top right corner.
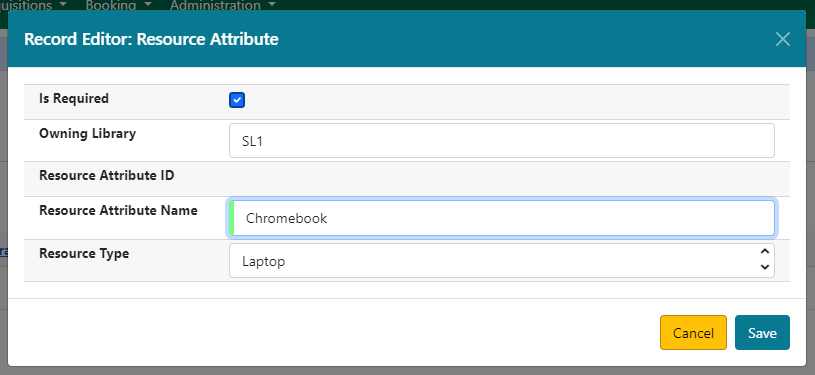
3) A box will appear in which you can add the attributes of the resource. Attributes are categories of descriptive information that are provided to the staff member when the booking request is made. For example, an attribute of a laptop may be the type of laptop. Other attributes might be the number of seats available in a room, or a kind of projector.
-
Is Required: Boolean checkbox.
-
Owning Library
-
Resource Attribute ID: This will populate when the form is saved.
-
Resource Attribute Name: Choose a unique name for the attribute.
-
Resource Type: Dropdown selection.
4) Click Save when the necessary information has been entered.
5) The added attribute will appear in the list.
| One resource type may have multiple attributes. You may repeat the above procedure to add more. |
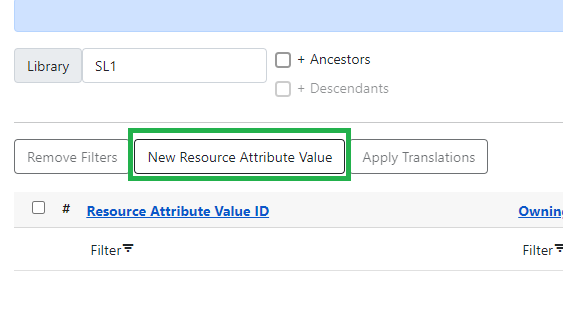
Create New Resource Attribute Value
1) One resource attribute may have multiple values. To add new attribute value, select Administration → Booking Administration → Resource Attribute Values.
2) Click New Resource Attribute Value in the top right corner.
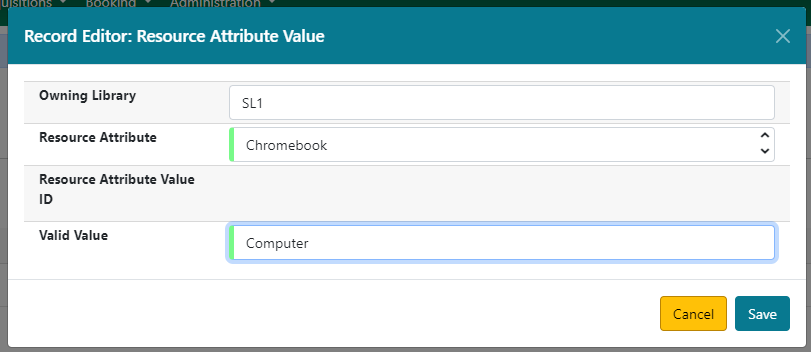
3) A box will appear in which you assign a value to a particular attribute. Values can be numbers, words, or a combination of them, that describe the particular aspects of the resource that have been defined as Attributes. As all values appear on the same list for selection, values should be as unique as possible. For example, a laptop may have a computing platform that is either PC or Mac.
-
Owning Library: The home library of the resource.
-
Resource Attribute: The attribute you wish to assign the value to.
-
Resource Attribute Value ID: This will populate after you save.
-
Valid Value: Enter the value for your attribute.
4) Click Save when the required information has been added.
5) The attribute value will appear in the list. Each attribute should have at least two values attached to it; repeat this process for all applicable attribute values.
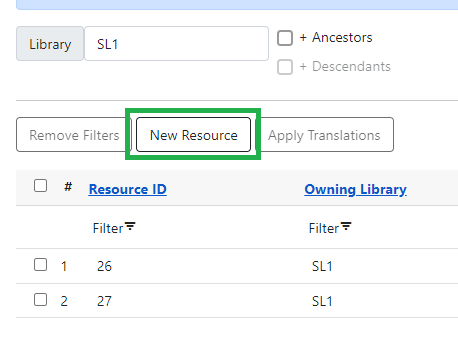
Create New Resource
1) Select Administration → Booking Administration → Resource.
2) A list of current resources will appear (if any).
3) To create a new resource type, click New Resource towards the top of the screen.
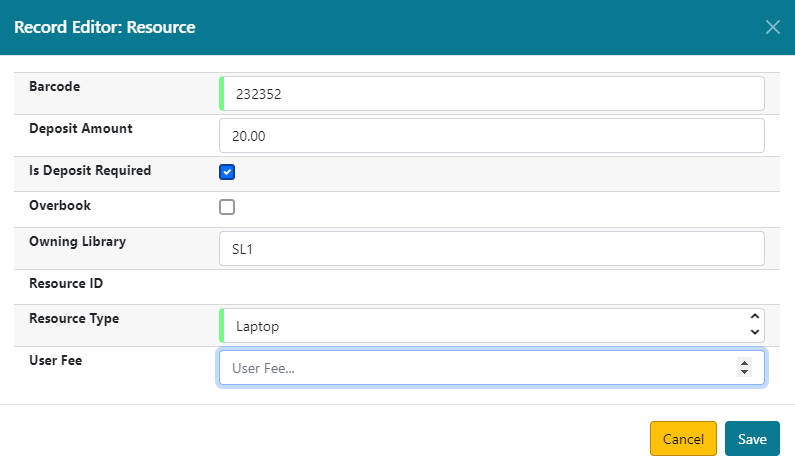
4) A box will appear in which you create your new type of resource.
-
Barcode: Enter the barcode of the item.
-
Deposit Amount: If a deposit is needed to book, enter it here.
-
Is Deposit Required?: Boolean checkbox.
-
Overbook: Boolean checkbox.
-
Owning Library: The home library of the resource.
-
Resource ID: This populates after saving.
-
Resource Type: Dropdown list.
-
User Fee: Enter a fee if needed.
5) Click Save when you have entered the needed information.
6) The resource will appear in the list.
| One resource type may have multiple resources attached. |
Create New Resource Attribute
1) Select Administration → Booking Administration → Resource Attributes.
2) Click New Resource Attribute in the top right corner.
3) A box will appear in which you can add the attributes of the resource. Attributes are categories of descriptive information that are provided to the staff member when the booking request is made. For example, an attribute of a laptop may be the type of laptop. Other attributes might be the number of seats available in a room, or a kind of projector.
-
Is Required: Boolean checkbox.
-
Owning Library
-
Resource Attribute ID: This will populate when the form is saved.
-
Resource Attribute Name: Choose a unique name for the attribute.
-
Resource Type: Dropdown selection.
4) Click Save when the necessary information has been entered.
5) The added attribute will appear in the list.
| One resource type may have multiple resources attached. |
Map Resource Attributes and Values to Resources
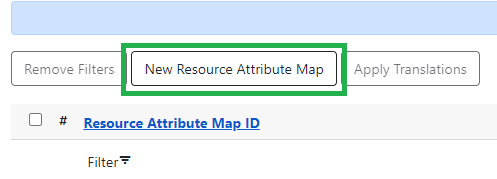
1) Use Resource Attribute Maps to bring together the resources and their attributes and values. Select Administration → Booking Administration → Resource Attribute Maps.
2) Click New Resource Attribute Map in the right top corner.
3) A box will appear in which you will map your attributes and values to your resources.
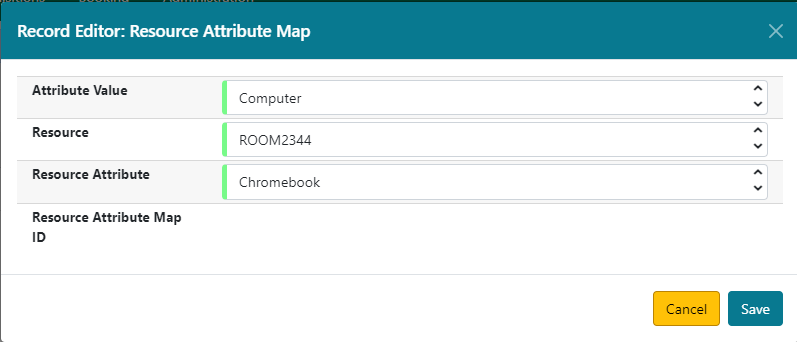
-
Attribute Value: Dropdown menu.
-
Resource: Dropdown menu.
-
Resource Attribute: Dropdown menu.
-
Resource Attribute Map ID: Populates after you save.
4) Click Save once you have entered the required information.
| A resource may have multiple attributes and values. Repeat the above steps to map all. |
5) The resource attribute map will appear in the list.
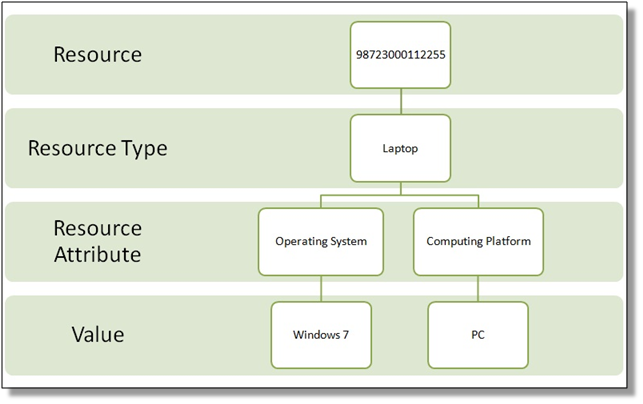
Once all attributes have been mapped your resource will be part of a hierarchy similar to the example below.
Editing Non-Bibliographic Resources
Staff with the required permissions can edit aspects of existing non-bibliographic resources. For example, resource type can be edited in the event that the fine amount for a laptop changes from $2.00 to $5.00.
Editing Resource Types
1) Bring up your list of resource types. Select Administration → Booking Administration → Resource Types.
2) A list of current resource types will appear.
3) Double click anywhere on the line of the resource type you would like to edit.
4) The resource type box will appear. Make your changes and click Save.
5) Following the same procedure you may edit Resource Attributes, Attributes Values, Resources and Attribute Map by selecting them on Administration → Booking Administration.
Deleting Non-bibliographic Resources
1) To delete a booking resource, go to Administration → Booking Administration → Resources.
2) Select the checkbox in front the resource you want to delete. Click Delete Selected. The resource will disappear from the list.
Following the same procedure you may delete Resource Attributes Maps.
You may also delete Resource Attribute Values, Resource Attributes and Resource Types. But you have to delete them in the reverse order when you create them to make sure the entry is not in use when you try to delete it.
This is the deletion order: Resource Attribute Map/Resources → Resource Attribute Values → Resource Attributes → Resource Types.