Folders
There are three main components to reports: Templates, Reports, and Output. Each of these components must be stored in a folder. Folders can be private (accessible to your login only) or shared with other staff at your library, other libraries in your system or consortium. It is also possible to selectively share only certain folders and/or subfolders.
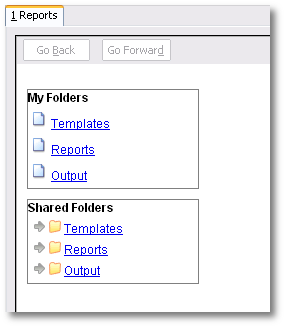
There are two parts to the folders pane. The My Folders section contains folders created with your Evergreen account. Folders that other users have shared with you appear in the Shared Folders section under the username of the sharing account.
Creating Folders
Whether you are creating a report from scratch or working from a shared template you must first create at least one folder.
The steps for creating folders are similar for each reporting function. It is easier to create folders for templates, reports, and output all at once at the beginning, though it is possible to do it before each step. This example demonstrates creating a folder for a template.
-
Click on Templates in the My Folders section.
-
Name the folder. Select Share or Do not share from the dropdown menu.
-
If you want to share your folder, select who you want to share this folder with from the dropdown menu.
-
Click Create Sub Folder.
-
Click OK.
-
Next, create a folder for the report definition to be saved to. Click on Reports.
-
Repeat steps 2-5 to create a Reports folder also called Circulation.
-
Finally, you need to create a folder for the report’s output to be saved in. Click on Output.
-
Repeat steps 2-5 to create an Output folder named Circulation.
| Using a parallel naming scheme for folders in Templates, Reports, and Output helps keep your reports organized and easier to find |
The folders you just created will now be visible by clicking the arrows in My Folders. Bracketed after the folder name is whom the folder is shared with. For example, Circulation (BNCLF) is shared with the North Coast Library Federation. If it is not a shared folder there will be nothing after the folder name. You may create as many folders and sub-folders as you like.
Managing Folders
Once a folder has been created you can change the name, delete it, create a new subfolder, or change the sharing settings. This example demonstrates changing a folder name; the other choices follow similar steps
-
Click on the folder that you wish to rename.
-
Click Manage Folder.
-
Select Change folder name from the dropdown menu and click Go.
-
Enter the new name and click Submit.
-
Click OK.
-
You will get a confirmation box that the Action Succeeded. Click OK.