Using Baskets
Introduction
The public catalog and staff interface display checkboxes on the search results pages, both for bibliographic records and metarecord constituents. Selecting one or more titles with these checkboxes adds the titles to a basket, which is viewable on the search bar as an icon. Users can then take a variety of actions on titles within the basket: place holds, print or email title details, add the items to a permanent list (from the public catalog) or add the titles to a bucket (from the staff interface).
Using Baskets in the OPAC
-
Perform a search in the public catalog and retrieve a list of results.
Checkboxes appear to the left of the number of each result. In the case of a metarecord search, checkboxes only appear on the list of metarecord constituents, as metarecords themselves cannot be placed in lists or in baskets. If you want to place the entire page of results on the list, click the Select All checkbox at the top of the results list.
-
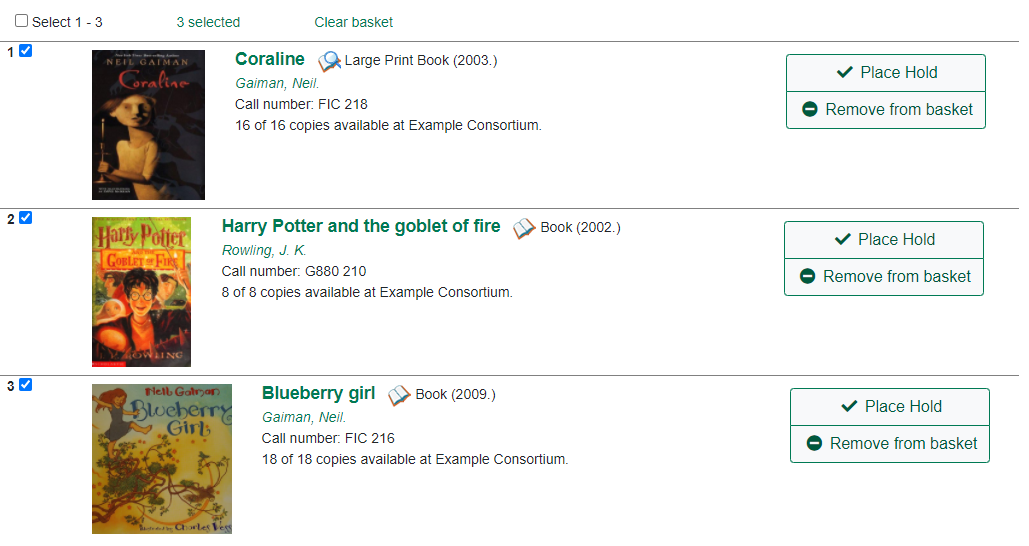
Select one or more titles from the results list by clicking on the checkboxes.
Selected titles are automatically added to the basket. A link above the results list tracks the number of titles selected and added to the basket.
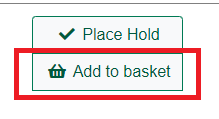
Alternatively, you can click the Add to Basket option in the search results.
-
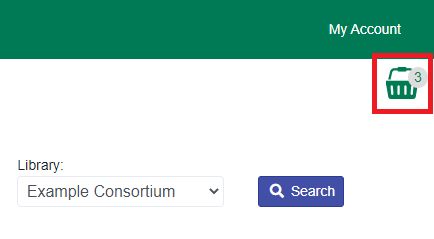
The number of items can also be found with the basket icon above the search bar.
-
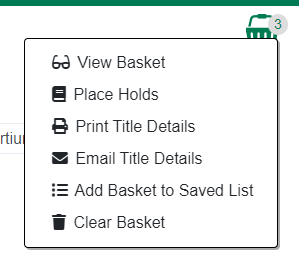
Click on the basket icon to access a menu to take any of the following actions on titles within the basket: View Basket, Place Hold, Print Title Details, Email Title Details, Add Basket to Saved List, Clear Basket.
Basket Actions
-
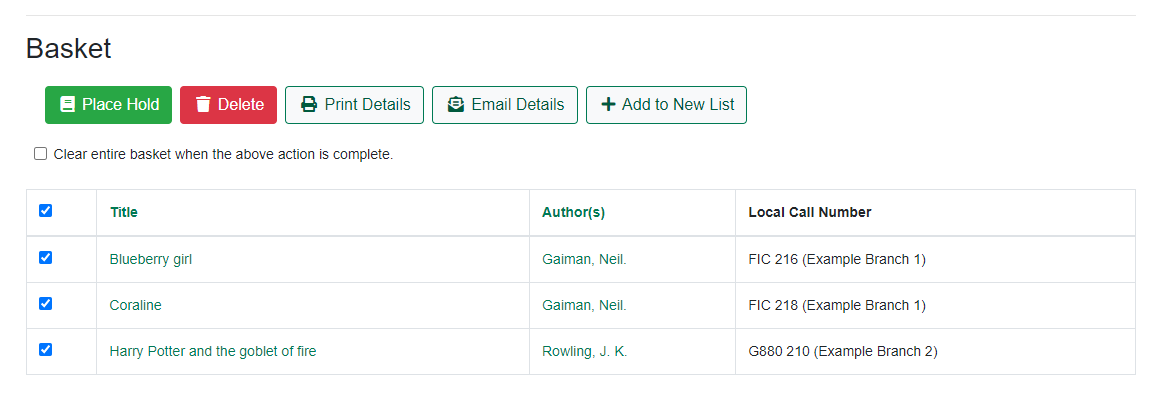
View Basket - This opens the basket in a new screen. Checkboxes allow for the selection of one or more titles within the basket. A list of actions are in buttons at the top of the table to execute actions for the checked off titles. You place holds, print title details, email title details, or remove titles from the basket. An option to clear the basket when you’ve completed an action is in a checkbox above.
-
Place Hold - This allows for placement of holds in batch for all of the items in the basket. If not already authenticated, users will be asked to login. Once authenticated, the holds process begins for all titles within the basket. Users can set Advanced Hold Options for each title, as well as set the pickup location, hold notification and suspend options.
-
Print Title Details - This allows for printing details of all titles within the basket. A confirmation page opens prior to printing that includes a checkbox option for clearing the basket after printing.
-
Email Title Details - This allows for emailing details of all titles within the basket. If not already authenticated, users will be asked to login. Once authenticated, the email process begins. A confirmation page opens prior to printing that includes a checkbox option for clearing the basket after emailing.
-
Add Basket to Saved List - This allows basket items to be saved to a new permanent list. If not already authenticated, users will be asked to login. Once authenticated, the creation of a new permanent list begins.
| Baskets are NOT permanent lists. These can clear from restarting the browser, clearing cache, etc. Please advise to save results in a list if desired. |
-
Clear Basket - This removes removes all titles from the basket
Using Baskets in Staff Interface
In the staff interface, the basket feature is exactly the same as the OPAC except for one action. Add to Saved List, which is available in the OPAC view, is replaced with Add Basket to Bucket.
This allows for titles within the basket to be added to an existing or new Record Bucket. Click the Basket Actions drop-down and choose Add Basket to Bucket To add the titles in your basket to an existing bucket, select the bucket from the Name of existing bucket dropdown and click Add to Select Bucket. ** To add the titles in your basket to a new bucket, enter the name of your new bucket in the text box and click Add to New Bucket.
+ image::media/BatchActionsSearch-06.png[Add Basket Titles to Bucket]
+
Additional Information
The basket used to be called a Temporary List in previous versions of Evergreen.
Titles also may be added from the detailed bibliographic record with the Add to Basket link.
Javascript must be enabled for checkboxes to appear in the public catalog; however, users can still add items to the basket and perform batch actions without Javascript.
The default limit on the number of basket titles is 500; however, a template config.tt2 setting (ctx.max_basket_size) can be used to set a different limit. When the configured limit is reached, checkboxes are disabled unless or until some titles in the basket are removed.
The permanent list management page within a patron’s account also now includes batch print and email actions.