Booking Module
Creating a Booking Reservation
| The "Create a booking reservation" screen uses your library’s timezone. If you create a reservation at a library in a different timezone, Evergreen will alert you and provide the time in both your timezone and the other library’s timezone. |
Only staff members may create reservations. A reservation can be started from a patron record, or a booking resource. To reserve cataloged items, you may start from searching the catalog, if you do not know the booking item’s barcode.
To create a reservation from a patron record
-
Retrieve the patron’s record.
-
Select Other → Booking → Create Reservations. This takes you to the Create Reservations Screen.
-
If you want to create a reservation that lasts less than a day (such as for a study room), select Single-day reservation as the reservation type. If your reservation will last several days (such as for a video camera needed for a class project), select Multiple-day reservation.
-
In the area labeled "Reservation details", select the Choose resource by barcode tab if you know the specific barcode of a resource you’d like to reserve. Otherwise, select the Choose resource by type tab.
-
A schedule grid will display on the bottom part of the screen.
-
If necessary, adjust the day or days that are displayed. You can also make other adjustments using the Schedule settings tab.
-
For non-cataloged resources, patrons may wish to specify certain attributes. The Attributes tab allows you to do this. For example, if a patron is booking a laptop, they can choose between PC and Mac laptops if they need to.
-
When you have found the days or times that work the best, you can proceed with creating the reservation, by doing one of the following:
-
Double click the appropriate row in the grid.
-
Use the tab and space keys to select the appropriate rows, then press Shift+F10 to open the actions menu. Select "Create Reservation".
-
Select the appropriate rows in the grid, then right click to open the actions menu. Select "Create Reservation".
-
Select the appropriate rows in the grid, then select the actions button. Select "Create Reservation".
-
-
Adjust the values in this screen as necessary.
-
Select the "Confirm reservation" button.
-
The screen will refresh, and the new reservation will appear in the schedule.
Search the catalog to create a reservation
If you would like to reserve a cataloged item but do not know the item barcode, you may start with a catalog search.
-
Select Cataloguing → Search the Catalog to search for the item you wish to reserve. You may search by any bibliographic information.
-
Select the Holdings View tab.
-
Right-click on the row that you want to reserve. Select Book Item Now. This takes you to the Create Reservations Screen.
-
If you want to create a reservation that lasts less than a day (such as for a study room), select Single-day reservation as the reservation type. If your reservation will last several days (such as for a video camera needed for a class project), select Multiple-day reservation.
-
A schedule grid will display on the bottom part of the screen.
-
If necessary, adjust the day or days that are displayed. You can also make other adjustments using the Schedule settings tab.
-
When you have found the days or times that work the best, you can proceed with creating the reservation, by doing one of the following: .* Double click the appropriate row in the grid. .* Use the tab and space keys to select the appropriate rows, then press Shift+F10 to open the actions menu. Select "Create Reservation". .* Select the appropriate rows in the grid, then right click to open the actions menu. Select "Create Reservation". .* Select the appropriate rows in the grid, then select the actions button. Select "Create Reservation".
-
Enter the patron’s barcode.
-
Adjust the values in this screen as necessary.
-
Select the "Confirm reservation" button.
-
The screen will refresh, and the new reservation will appear in the schedule.
| Reservations on cataloged items can be created on Item Status (F5) screen. Select the item, then Actions → Book Item Now. |
Reservation Pull List
Reservation pull list can be generated dynamically on the Staff Client.
-
To create a pull list, select Booking → Pull List.
-
You can decide how many days in advance you would like to pull reserved items. Enter the number of days in the box adjacent to Generate list for this many days hence. For example, if you would like to pull items that are needed today, you can enter 1 in the box, and you will retrieve items that need to be pulled today.
-
The pull list will appear. Select the actions button, then Print to print the pull list.
Capturing Items for Reservations
Depending on your library’s workflow, reservations may need to be captured before they are ready to be picked up by the patron.
| Always capture reservations in Booking Module. Check In function in Circulation does not function the same as Capture Resources. |
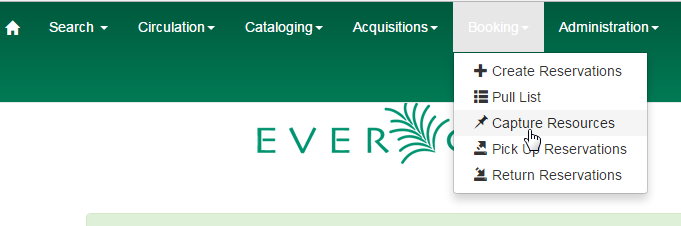
1) In the staff client, select Booking → Capture Resources.
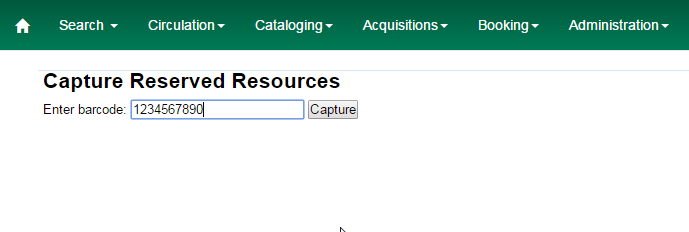
2) Scan the item barcode or type the barcode then click Capture.
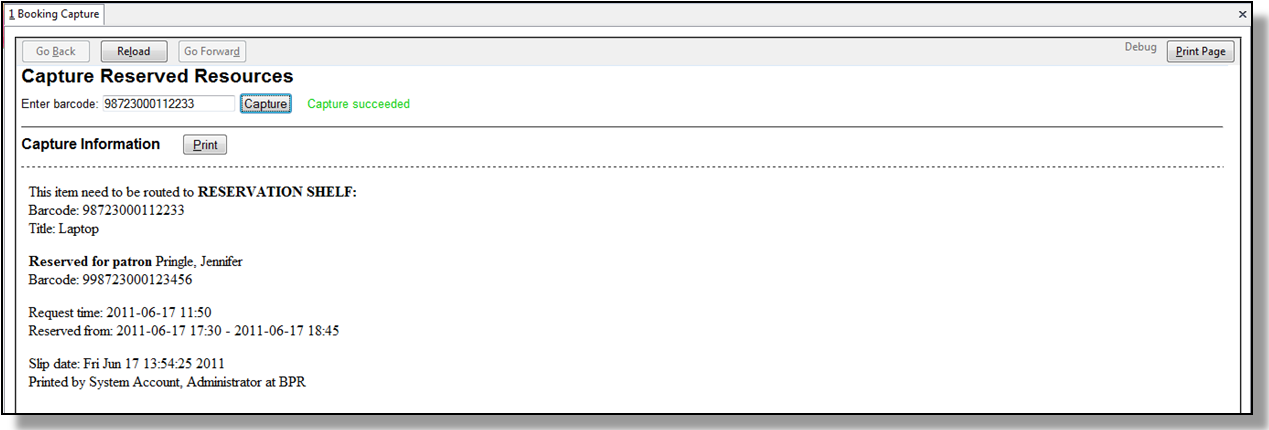
3) The message Capture succeeded will appear to the right. Information about the item will appear below the message. Click Print button to print a slip for the reservation.
Picking Up Reservations
| Always use the dedicated Booking Module interfaces for tasks related to reservations. Items that have been captured for a reservation cannot be checked out using the Check Out interface, even if the patron is the reservation recipient. |
1) Ready-for-pickup reservations can be listed from Other → Booking → Pick Up Reservations within a patron record or Booking → Pick Up Reservations.
2) Scan the patron barcode if using Booking → Pick Up Reservations.
3) The reservation(s) available for pickup will display. Select those you want to pick up and double click them.
4) The screen will refresh to show that the patron has picked up the reservation(s).
Returning Reservations
| When a reserved item is brought back, staff must use the Booking Module to return the reservation. |
1) To return reservations, select Booking → Return Reservations
2) You can return the item by patron or item barcode. Here we choose Resource to return by item barcode. Scan or enter the barcode, and click Go.
3) A pop up box will tell you that the item was returned. Click OK on the prompt.
4) If we select Patron on the above screen, after scanning the patron’s barcode, reservations currently out to that patron are displayed. Highlight the reservations you want to return, and double click them.
5) The screen will refresh to show any resources that remain out and the reservations that have been returned.
| Reservations can be returned from within patron records by selecting Other → Booking → Return Reservations |
Cancelling a Reservation
A reservation can be cancelled in a patron’s record or reservation creation screen.
Cancel a reservation from the patron record
1) Retrieve the patron’s record.
2) Select Other → Booking → Manage Reservations.
3) The existing reservations will appear at the bottom of the screen.
4) Highlight the reservation that you want to cancel. Select the Actions menu, then select Cancel Selected.
5) A pop-up window will confirm the cancellation. Click OK on the prompt.
6) The screen will refresh, and the cancelled reservation(s) will disappear.