Describing your organization
Your Evergreen system is almost ready to go. You’ll need to add each of the libraries that will be using your Evergreen system. If you’re doing this for a consortium, you’ll have to add your consortium as a whole, and all the libraries and branches that are members of the consortium. In this chapter, we’ll talk about how to get the Evergreen system to see all your libraries, how to set each one up, and how to edit all the details of each one.
Organization Unit Types
The term Organization Unit Types refers to levels in the hierarchy of your library system(s). Examples could include: All-Encompassing Consortium, Library System, Branch, Bookmobile, Sub-Branch, etc.
You can add or remove organizational unit types, and rename them as needed to match the organizational hierarchy that matches the libraries using your installation of Evergreen. Organizational unit types should never have proper names since they are only generic types.
When working with configuration, settings, and permissions, it is very important to be careful of the Organization Unit Context Location - this is the organizational unit to which the configuration settings are being applied. If, for example, a setting is applied at the Consortium context location, all child units will inherit that setting. If a specific branch location is selected, only that branch and its child units will have the setting applied. The levels of the hierarchy to which settings can be applied are often referred to in terms of "depth" in various configuration interfaces. In a typical hierarchy, the consortium has a depth of 0, the system is 1, the branch is 2, and any bookmobiles or sub-branches is 3.
Create and edit Organization Unit Types
To create or add an organization unit type, go to Administration > Server Administration > Organization Types.
In the left panel, expand the Organization Unit Types hierarchy and click on an organization type to open the form in the right panel. The form displays the data for the selected organization unit type.
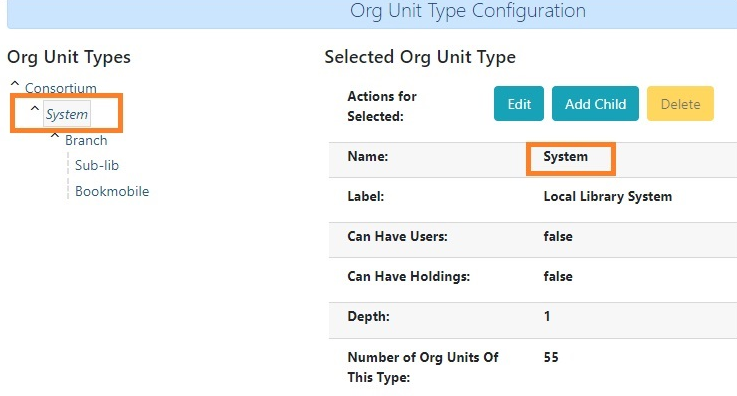
To edit the selected organization unit type, click Edit.
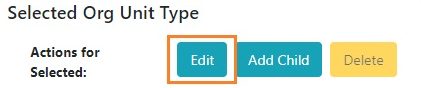
This will open up the Record Editor. Make the necessary updates and click Save.

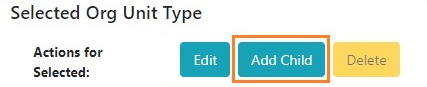
To create a new dependent organization unit type, click Add Child.
This will bring up the Record Editor screen. Fill out the required fields and click Save.
The new child organization unit type will appear in the left panel list below the parent type. The option will also display in the Organizational Unit Type field within the Organizational Units interface.
Organizational Units
Organizational Units are the specific instances of the organization unit types that make up your library’s hierarchy. These will have distinctive proper names such as Main Street Branch or Townsville Campus.
Remove or edit default Organizational Units
After installing the Evergreen software, the default CONS, SYS1, BR1, etc., organizational units remain. These must be removed or edited to reflect actual library entities.
Create and edit Organizational Units
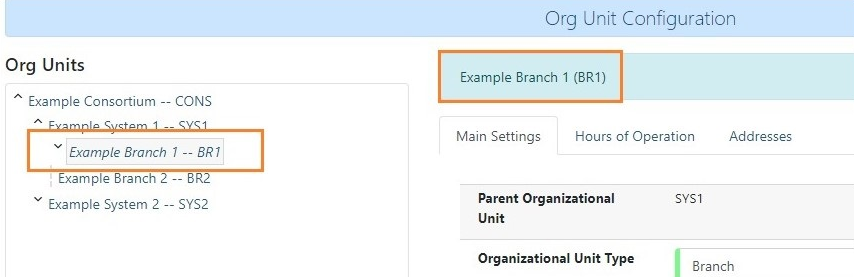
Organizational units are created and edited through Administration > Server Administration > Organizational Units.
The left panel shows a list of current Organizational Units and their hierarchy. Selecting a unit opens a form in the right panel, which displays the data for the selected organizational unit.
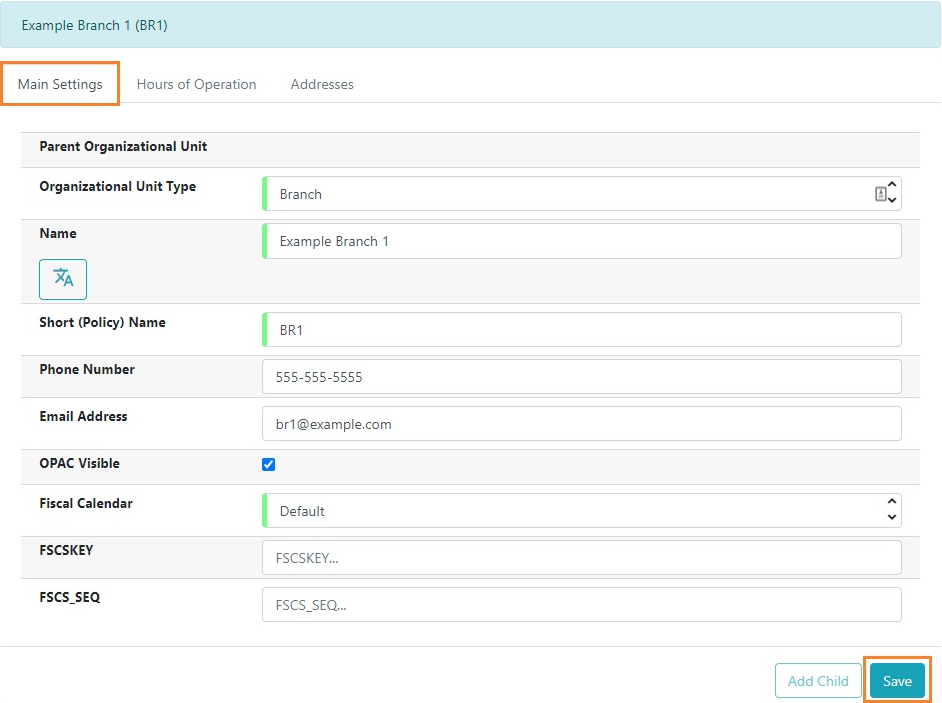
When creating a new organizational unit, all three tabs must be completed: Main Settings, Hours of Operation, and Addresses.
To create a new dependent organizational unit, click Add Child.

This will open up a blank form. Input the library information for all three tabs, clicking Save after completing each tab. The same process is followed when editing any organizational unit data.
Organizational Unit data
The Main Settings tab is where you input the organizational unit type, name(s), and contact information. The phone number and email address are used in patron email notifications, hold slips, and transit slips. This is also where you can control whether the organizational unit is visible in the OPAC. Note that all required fields must be filled out and saved before you can access the Hours of Operation and Addresses tabs.
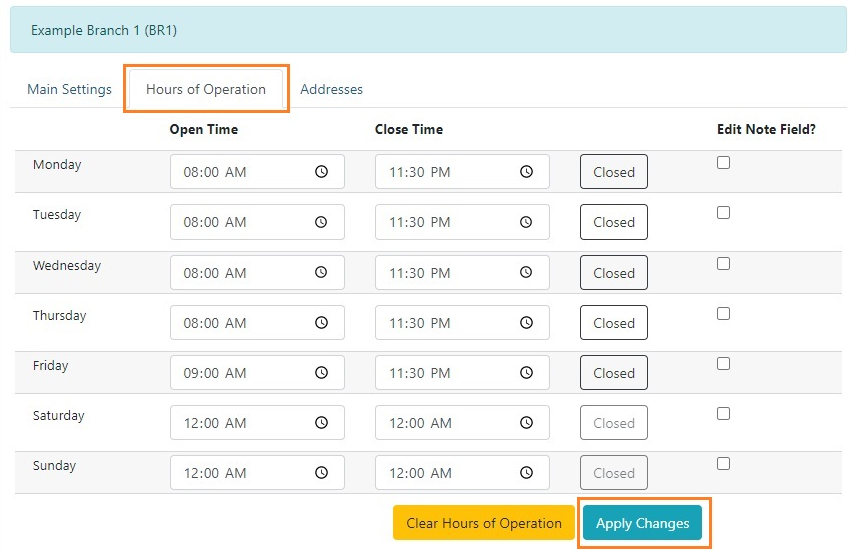
The Hours of Operation tab is where you enter regular, weekly hours. Holiday and other closures are set in the Closed Dates Editor. Hours of operation and closed dates impact due dates and fine accrual. When an organizational unit is first created, the hours default to 9 AM to 5 PM each day.
To add or edit hours:
-
Click on the Hours of Operation tab.
-
Enter the updated hours for open and closed times for each day.
-
To indicate that a branch is closed on a certain day, click the Closed button next to that day. The hours will default to 12:00 AM in both the open and closed fields. (If a library is already listed as closed on a certain day, the Closed button will be grayed out.)
-
Click Apply Changes.
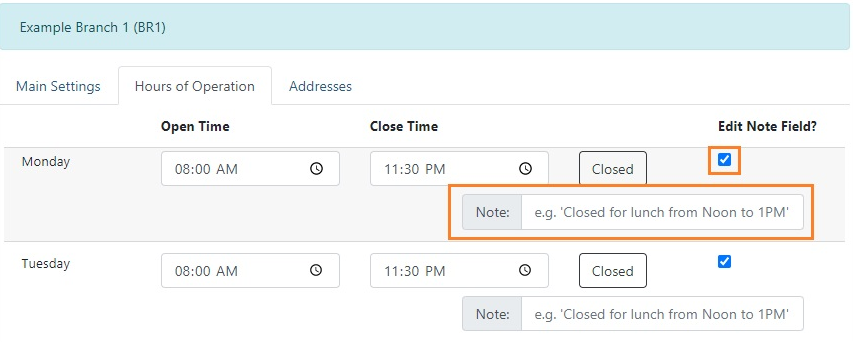
There is also the capability to add notes to each day’s hours to record split hours or other service-related information. The notes appear enclosed in parentheses next to each day’s hours when viewing a library’s hours in the Bootstrap OPAC and TPAC.
To add hours of operation notes:
-
Click the checkbox under Edit Note Field?. Note that all subsequent boxes will be checked, and a notes field will appear under each day.
-
Type in the note for the corresponding day.
-
Click Apply Changes.
To delete (clear) hours, click Clear Hours of Operation. The hours will revert to the default times, and an alert will appear stating the hours have not been saved.

The Addresses tab is broken out into four address types: Physical Address, Holds Address, Mailing Address, ILL Address. Click Save in each address tab after adding or editing addresses.
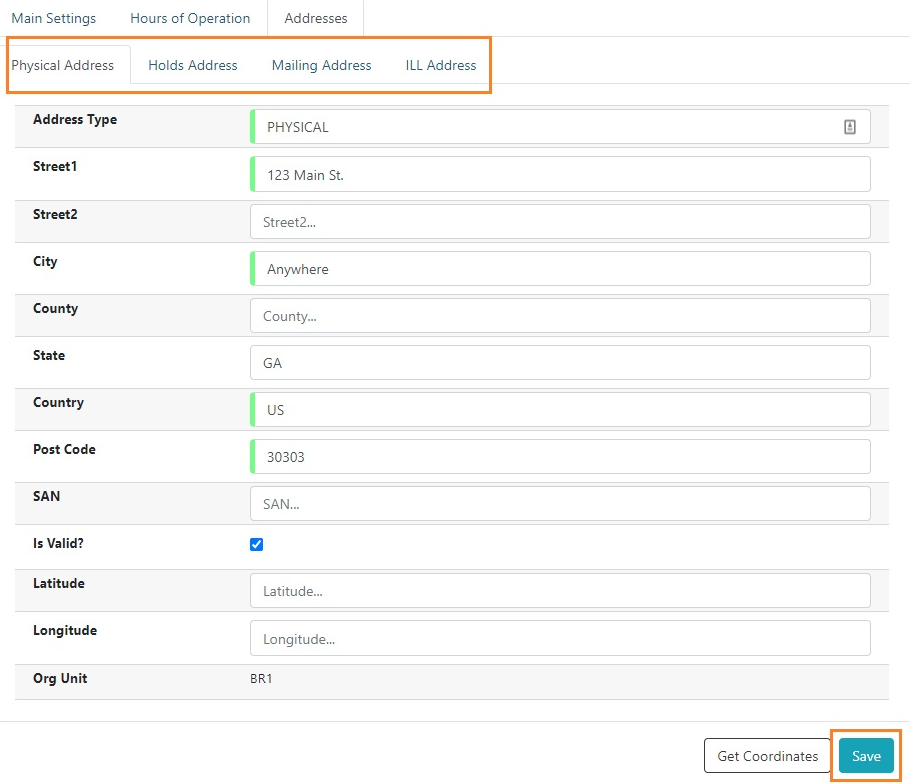
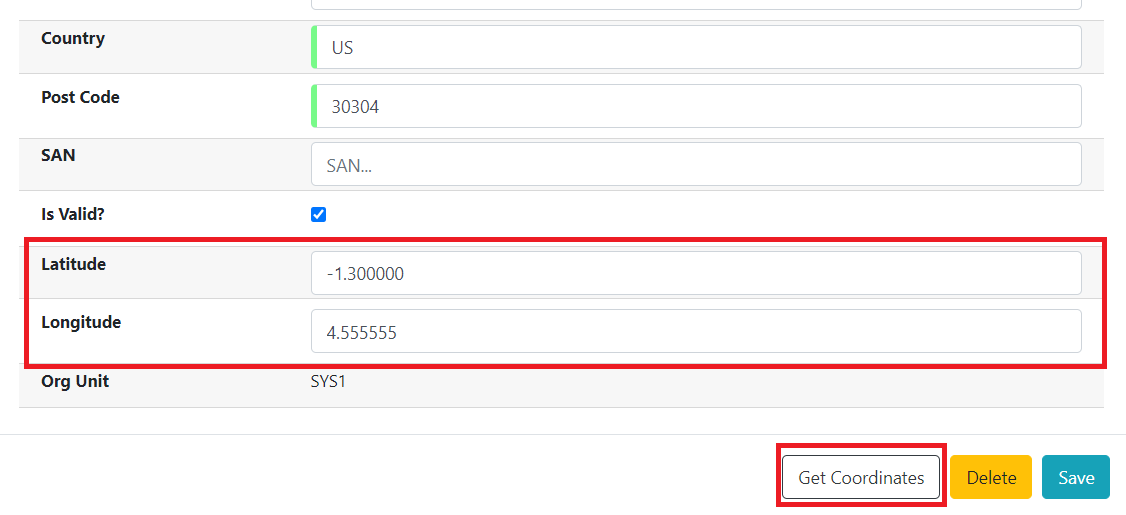
If you are offering geographic location service for your catalog, you can also set the longitude and latitude coordinates under any of the addresses screens.
If library settings have geographic location service enabled, then you could type in the address, click Get Coordinates for the fields to autofill. You can also set the coordinates manually.
Click here for more information on Geographic Location Service Configuration.
After Changing Organization Unit Data
After you change Org Unit data, you must run the autogen.sh script. This script updates the Evergreen organization tree and fieldmapper IDL. You will get unpredictable results if you don’t run this after making changes.
Run this script as the opensrf Linux account.
autogen.shPermissions
Each tab within the organizational unit configuration requires different permissions to manage the data.
To create an organizational unit and manage the Main Settings:
-
CREATE_ORG_UNIT
-
UPDATE_ORG_UNIT
-
DELETE_ORG_UNIT
To manage Addresses:
-
CREATE_ORG_ADDRESS
-
UPDATE_ORG_ADDRESS
-
DELETE_ORG_ADDRESS
There is a current bug for the DELETE_ORG_ADDRESS permission where it is not required to delete an address. To delete an address, only the UPDATE_ORG_UNIT permission is needed at this time.
To manage Hours of Operation:
-
CREATE_HOURS_OF_OPERATION
-
UPDATE_HOURS_OF_OPERATION
-
DELETE_HOURS_OF_OPERATION