My Lists
The My Lists feature replaces the bookbag feature that was available in versions prior to 2.2. The My Lists feature is a part of the Template Toolkit OPAC that is available in version 2.2. This feature enables you to create temporary and permanent lists; create and edit notes for items in lists; place holds on items in lists; and share lists via RSS feeds and CSV files.
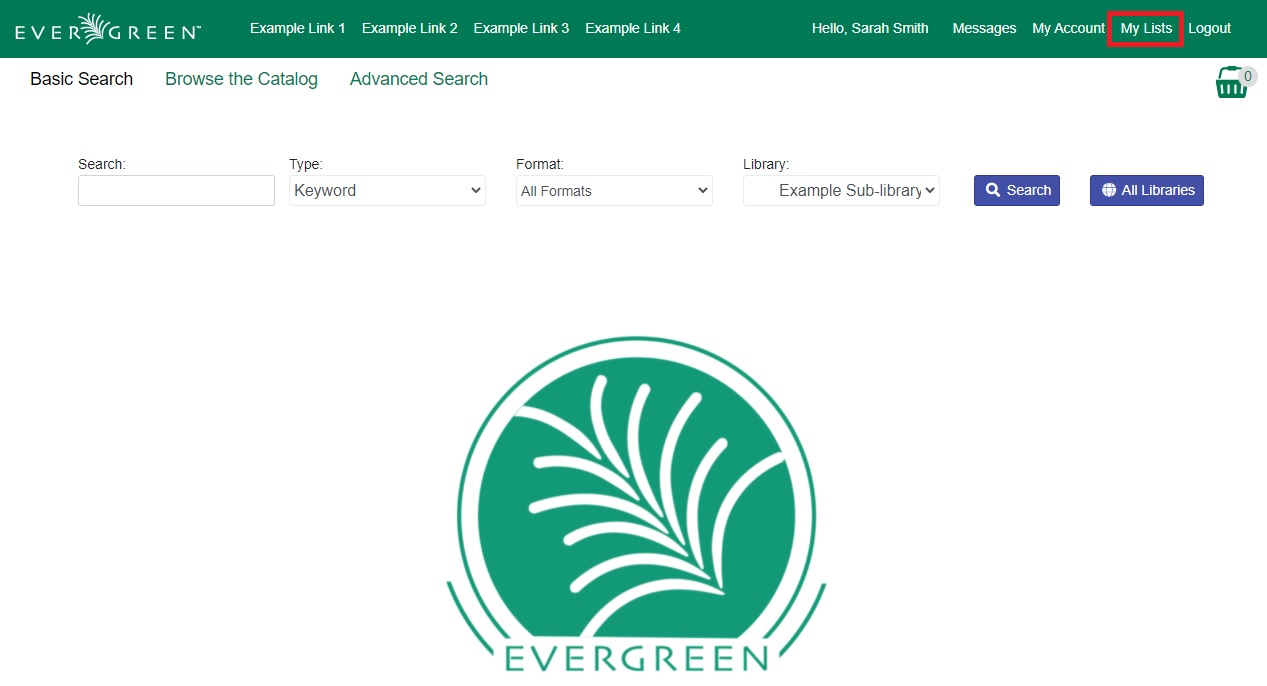
There is now a direct link to My Lists from the My Account area in the top right part of the screen. This gives users the ability to quickly access their lists while logged into the catalog.
As of version 3.2, Batch Actions from Search Results has replaced the old Temporary Lists feature, as well as enabled multiple selections from a search results list.
Create New Lists From Search Results
1) Log in to your account in the OPAC.
2) Search for titles.
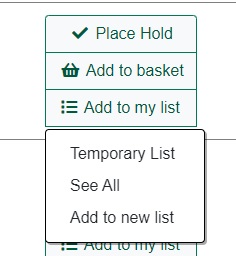
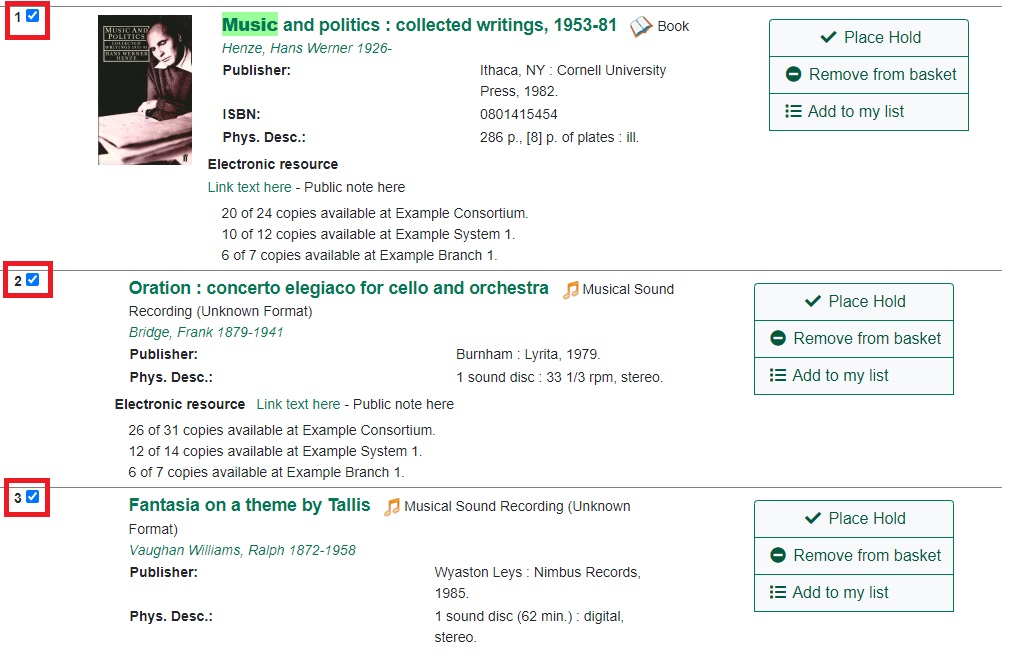
3) Choose a title to add to your list. Click Add to My List.

4) Select an existing list, or create the a new list.
Create Lists from Basket
1) Search for titles.
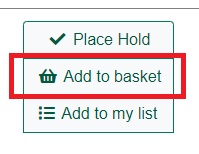
2) Check off results desired for a new list or click Add to Basket.
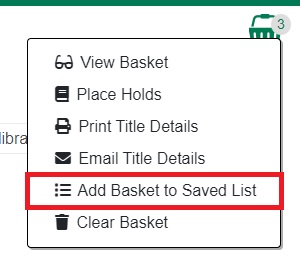
3) Go to your basket icon and choose Add Basket to Saved List.
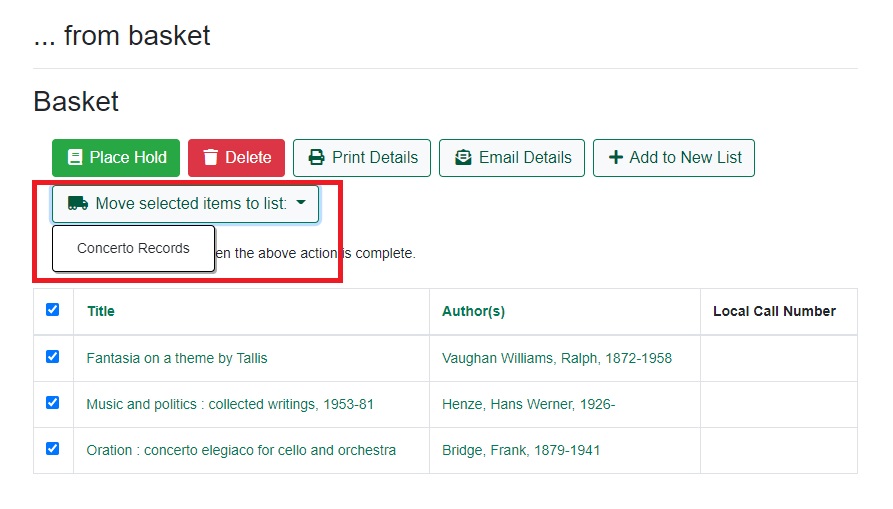
4) You can either create a new list or scroll down, click Move selected items to list, and choose from the dropdown menu.
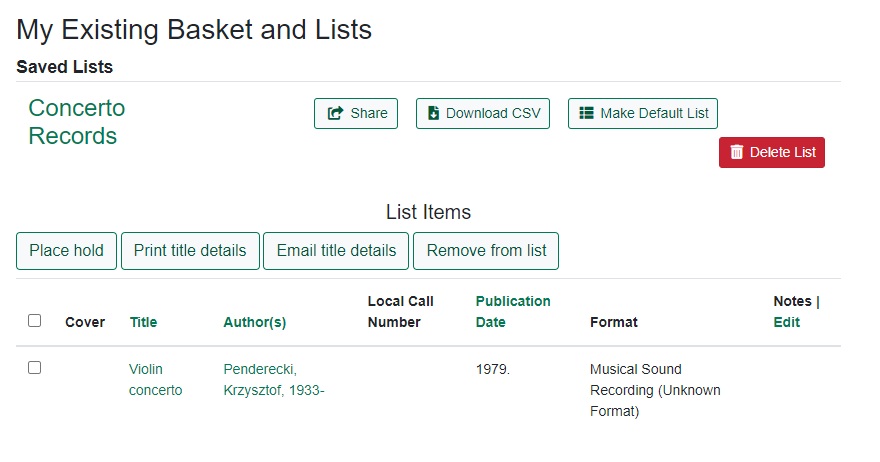
Managing/Viewing Lists from My Lists
1) Scroll up to the top of the screen and click My Lists. Click on the name of your list to see any titles added to it.
2) The Actions for these items menu on the left side of the screen demonstrates the actions that you can apply to this list. You can place holds on titles in your list, print or email title details of titles in your list, and remove titles from your list.
To perform actions on multiple list rows, check the box adjacent to the title of the item, and select the desired function.
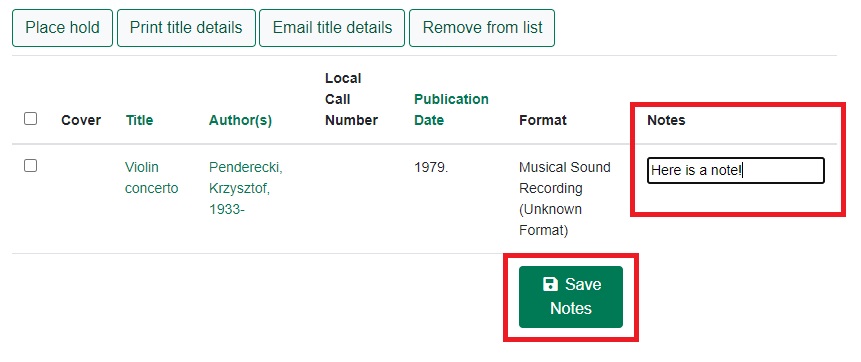
3) Click Edit to add or edit a note.
4) Enter desired notes, and click Save Notes.
5) You can keep your list private, or you can share it. To share your list, click Share, and click the green RSS icon to share through an RSS reader.
You can also download your list into a CSV file by clicking Download CSV.
6) When you no longer need a list, click Delete List.
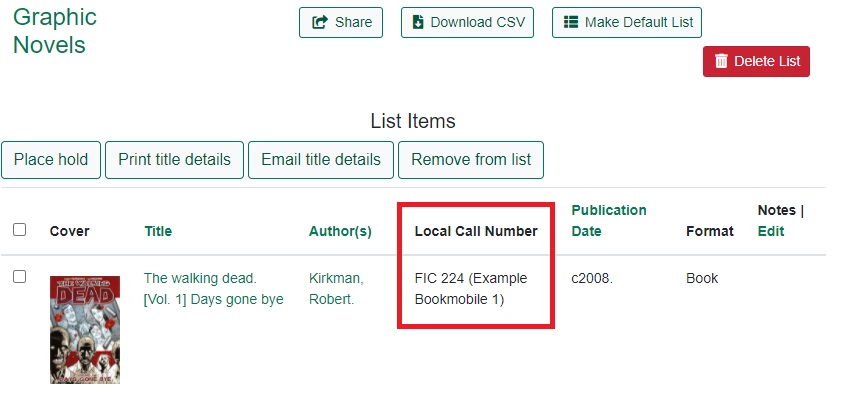
Local Call Number in My Lists
When a title is added to a list in the OPAC, a local call number will be displayed in the list to assist patrons in locating the physical item. Evergreen will look at the following locations to identify the most relevant call number to display in the list:
1) Physical location - the physical library location where the search takes place
2) Preferred library - the Preferred Search Location, which is set in patron OPAC account Search and History Preferences, or the patron’s Home Library
3) Search library - the search library or org unit that is selected in the OPAC search interface
The call number that is displayed will be the most relevant call number to the searcher. If the patron is searching at the library, Evergreen will display a call number from that library location. If the patron is not searching at a library, but is logged in to their OPAC account, Evergreen will display a call number from their Home Library or Preferred Search Location. If the patron is not searching at the library and is not signed in to their OPAC account, then Evergreen will display a call number from the org unit, or library, that they choose to search in the OPAC search interface.
The local call number and associated library location will appear in the list: